A Beginner's Guide to Glazing Your Pottery at Atacama Clay Studio
Glazing is one of the most exciting stages of making pottery. It is where your work begins to take on its final personality, color, and character. But glazing is also a process that requires patience, preparation, and organization.

At Atacama Clay Studio, we use food-safe glazes stored in large 5-gallon buckets. Our dipping glazes allow potters to achieve beautiful, consistent finishes, but the results depend on more than simply dipping a piece into a bucket. Choosing the right colors, preparing your workspace, selecting the appropriate tools, and keeping everything clean are all essential parts of the process.
Whether you are glazing for the first time or have been working with clay for years, here is our guide to getting started and making the most of your glazing experience.
1. Start With a Plan: Choose Your Colors
Before opening a glaze bucket, take a moment to think about the finished piece, ask yourself:
What look am I trying to achieve with the glaze that I choose for my pottery piece?
Do I want a solid, uniform color or a combination of colors?
Will the shape and texture of my piece complement the glaze?
Should I glaze the entire pottery piece or leave some areas exposed?
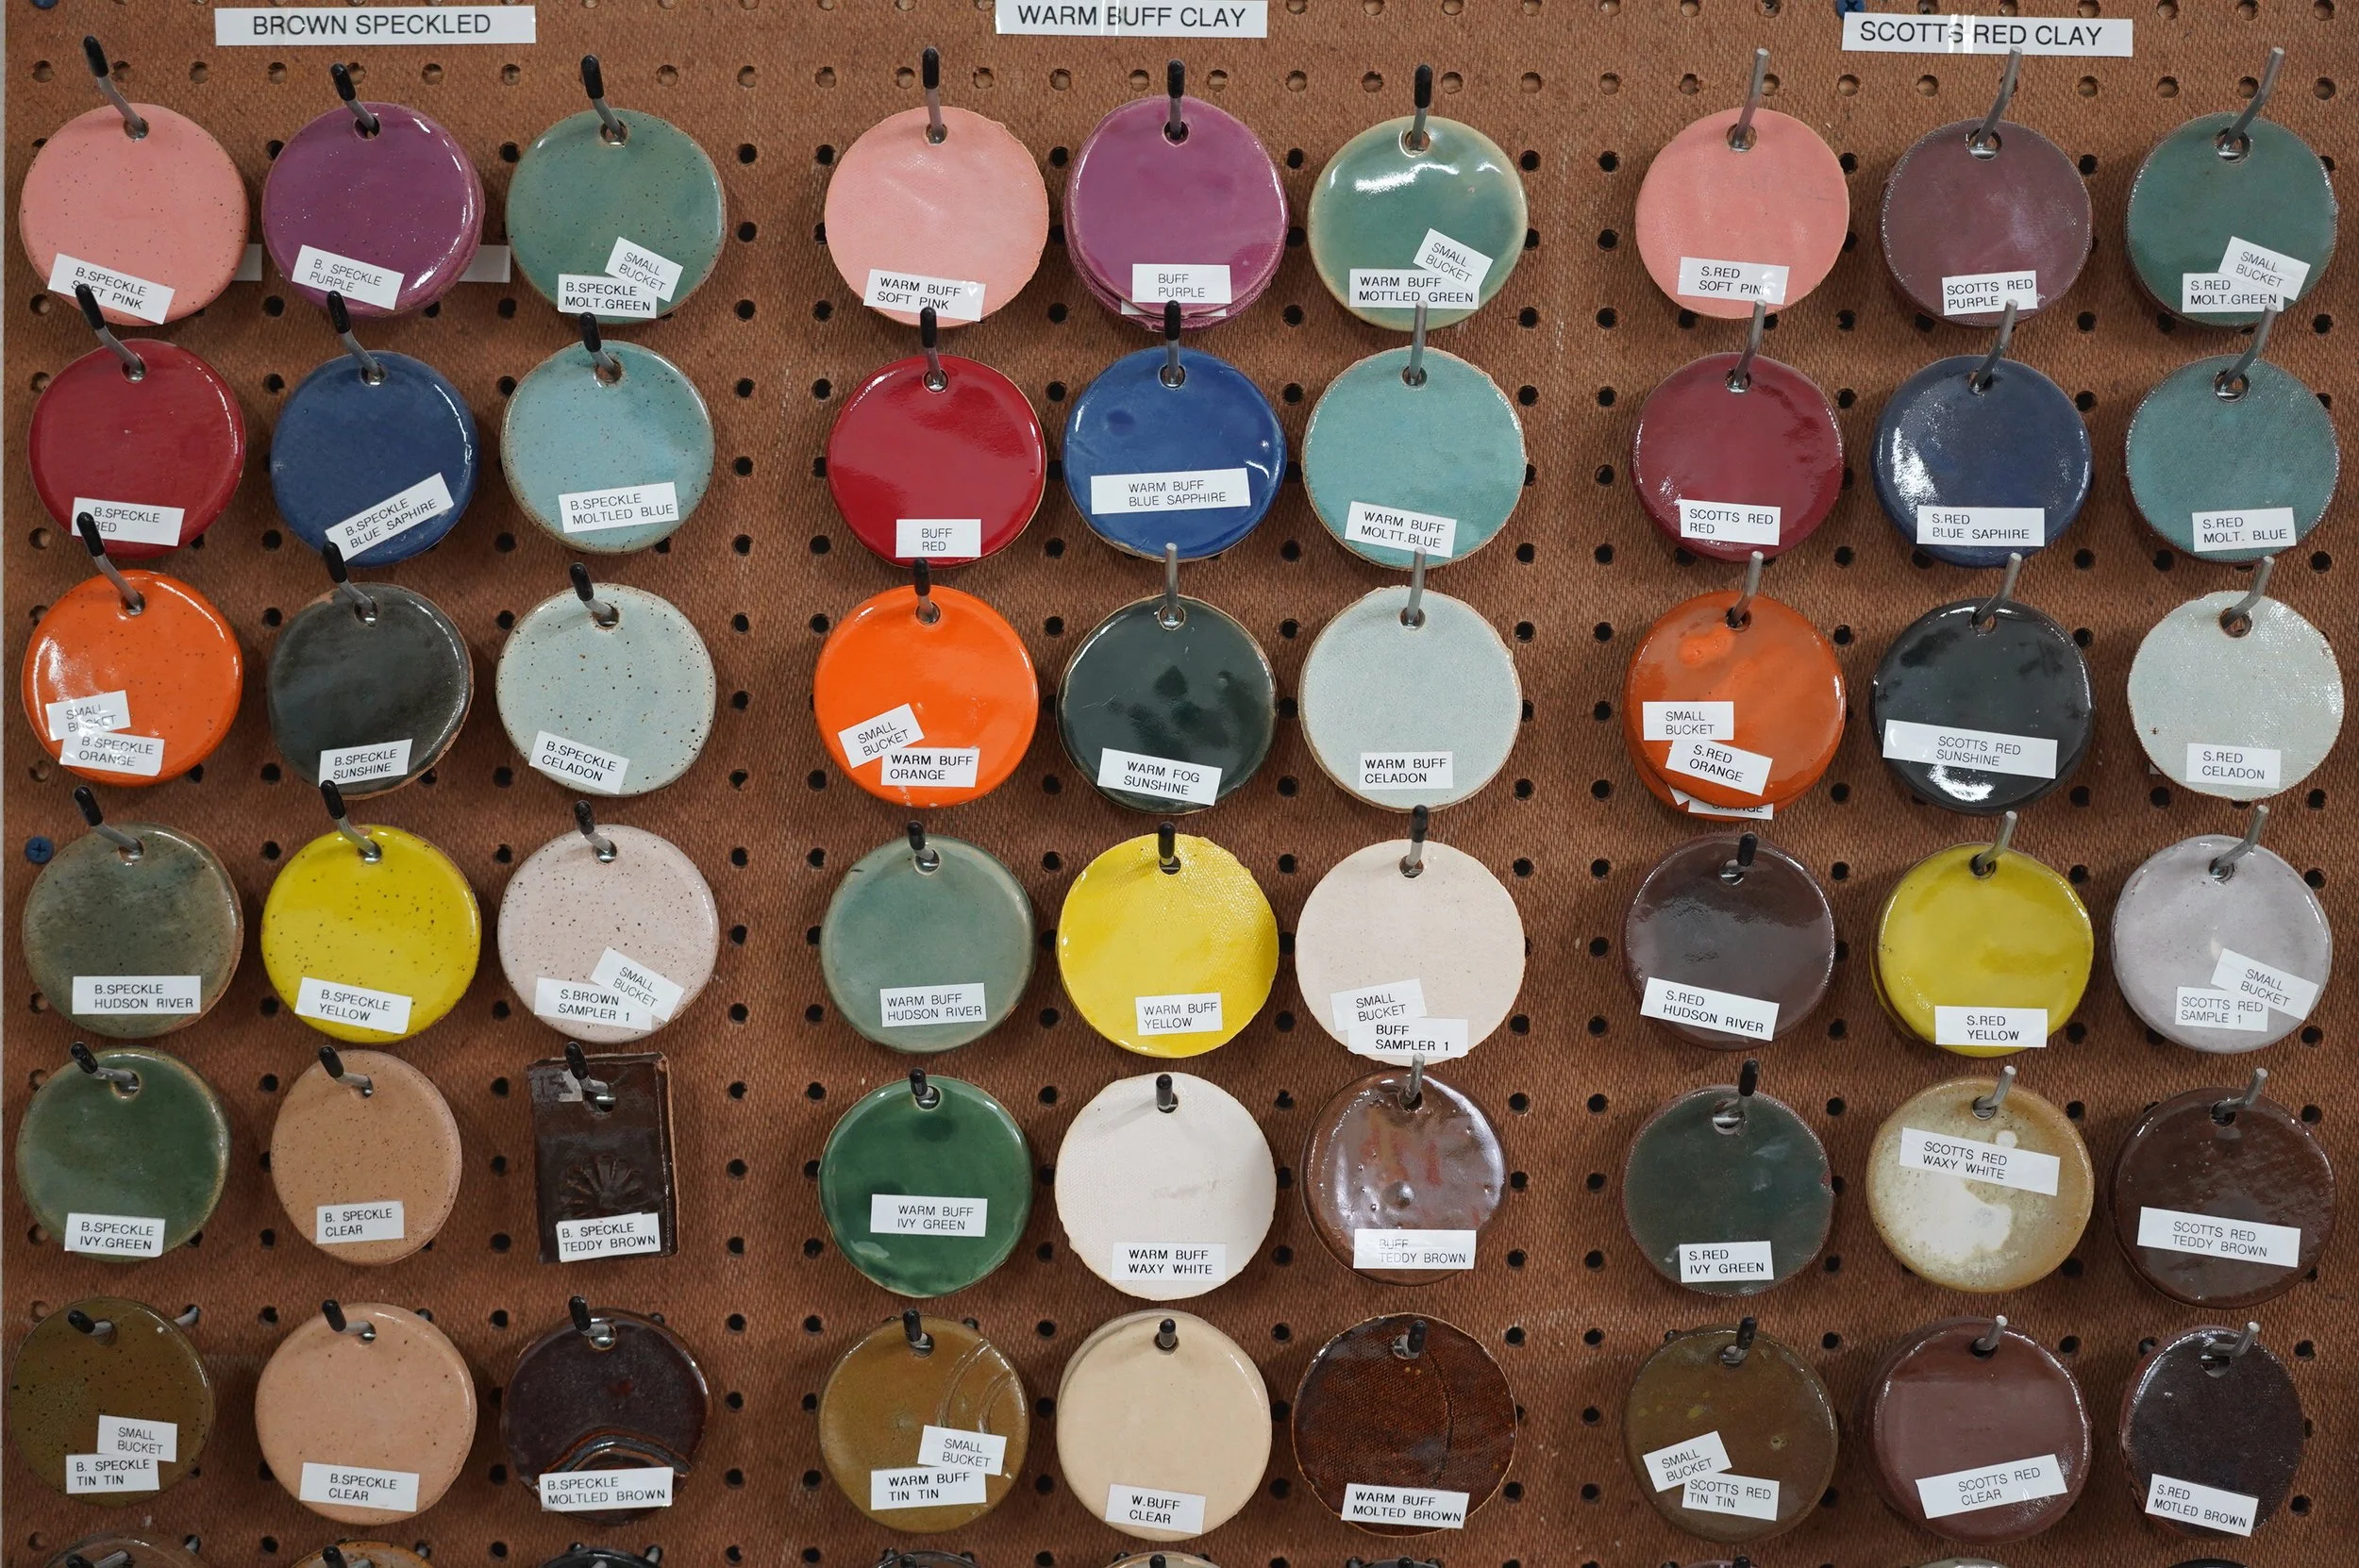
Key considerations to remember:
Color Transformation: Glaze colors can look very different before and after firing.
Clay Body Influence: The clay body underneath directly influences the final appearance.
Application Variations: Texture, thickness, and application technique will affect the finished result.
Layering Dynamics: Combining or layering glazes can produce unexpected results. Experiment with approved combinations on test tiles before applying them to an important piece.
Studio Tip: Don't rush into choosing a color. Look at the studio's fired samples and test tiles whenever possible. What you see in the bucket is not necessarily what you will see after firing!
2. Prepare Your Workspace Before You Begin
Organization is key to successful glazing. A clean and organized workstation helps prevent cross-contamination, protects our shared glazes, and makes the entire process easier.
Pre-Glazing Checklist:
Clear your counter space: Remove unrelated tools, personal belongings, scraps of clay, and anything that could interfere with your work.
Gather your pieces: Make sure your bisque-fired pottery is clean, dust-free, and ready to be glazed.
Choose your colors: Identify the glaze buckets you plan to use before getting started.
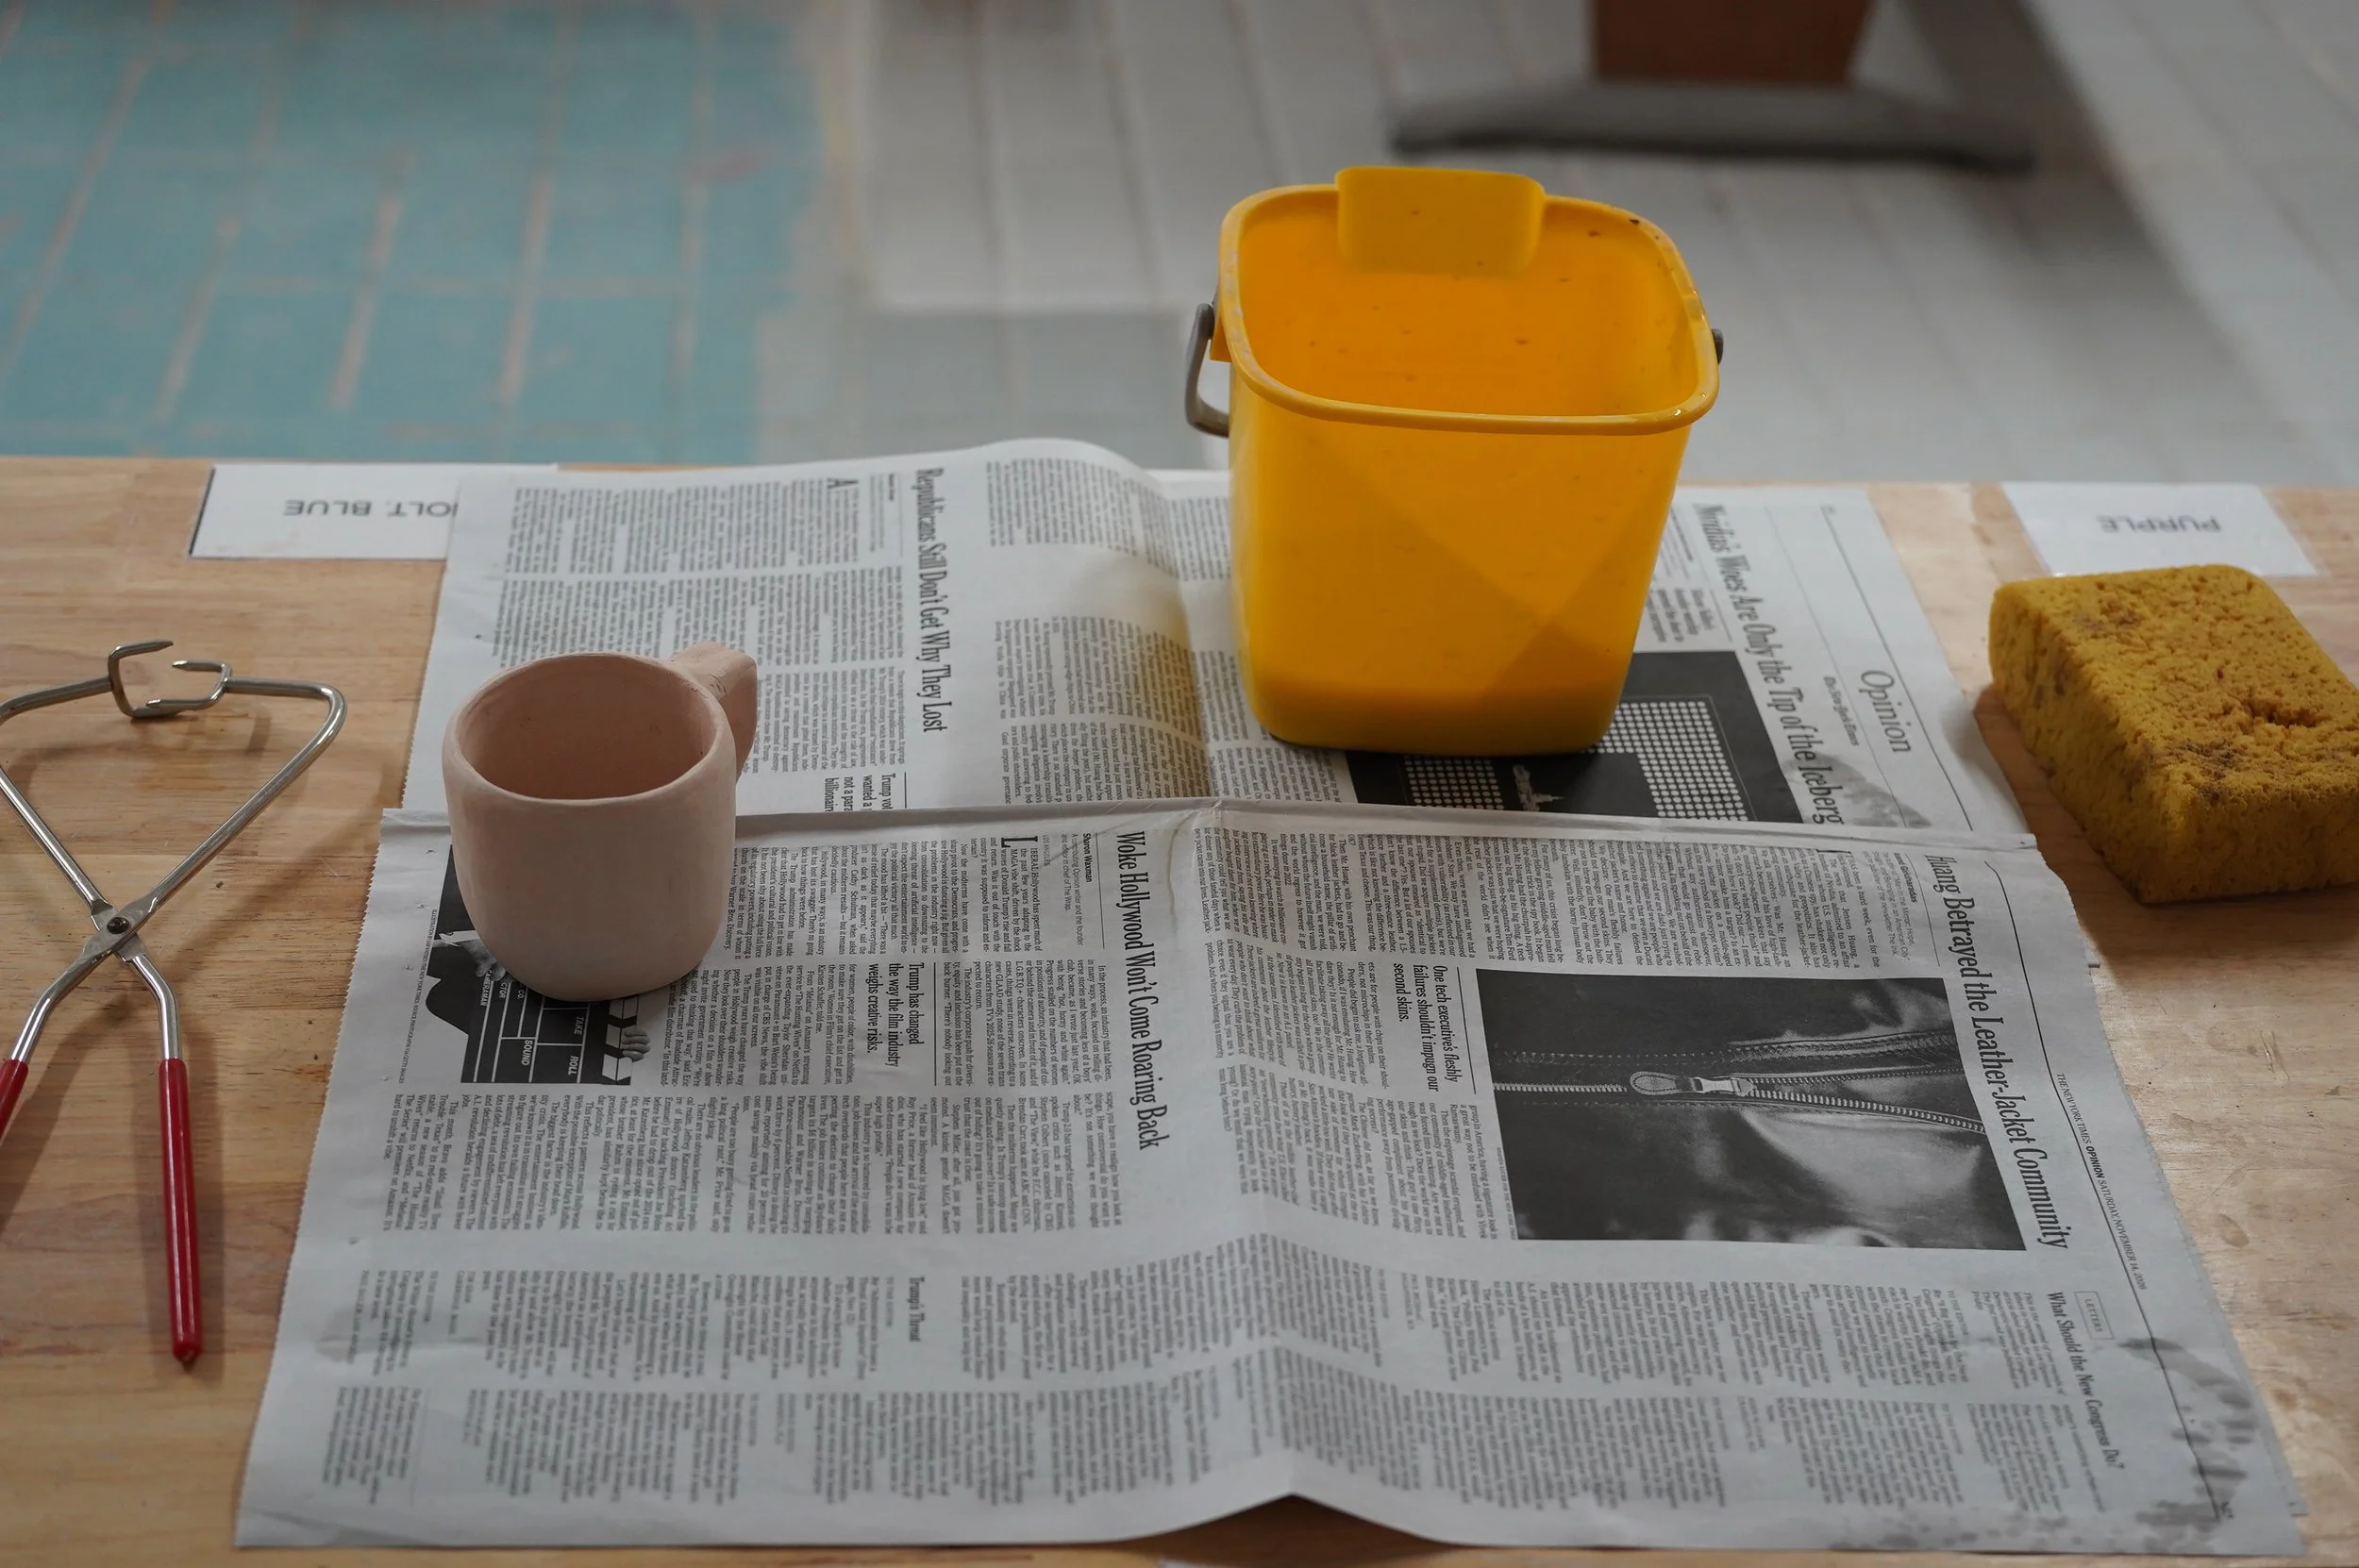
Gather your tools: Have your sponge, appropriate dipping tools, catching plate, and other necessary supplies ready.
Protect your workspace: Designate an area for wet glazed pieces and a place to set your tools down cleanly.
Avoid moving back and forth unnecessarily between buckets. Having everything ready beforehand helps prevent spills, accidental contamination, and unnecessary mess.
And remember, a clean workspace is not just about appearance. It is about protecting the quality of our glazes and respecting everyone who shares the studio.
3. Choose the Right Tools for Dipping
Different shapes and sizes require different approaches. Before dipping, consider how you will hold your piece and how you will manage excess glaze.
Essential Dipping Equipment:
Glazing tongs: Useful for certain shapes, though they can leave small contact marks in the glaze layer.
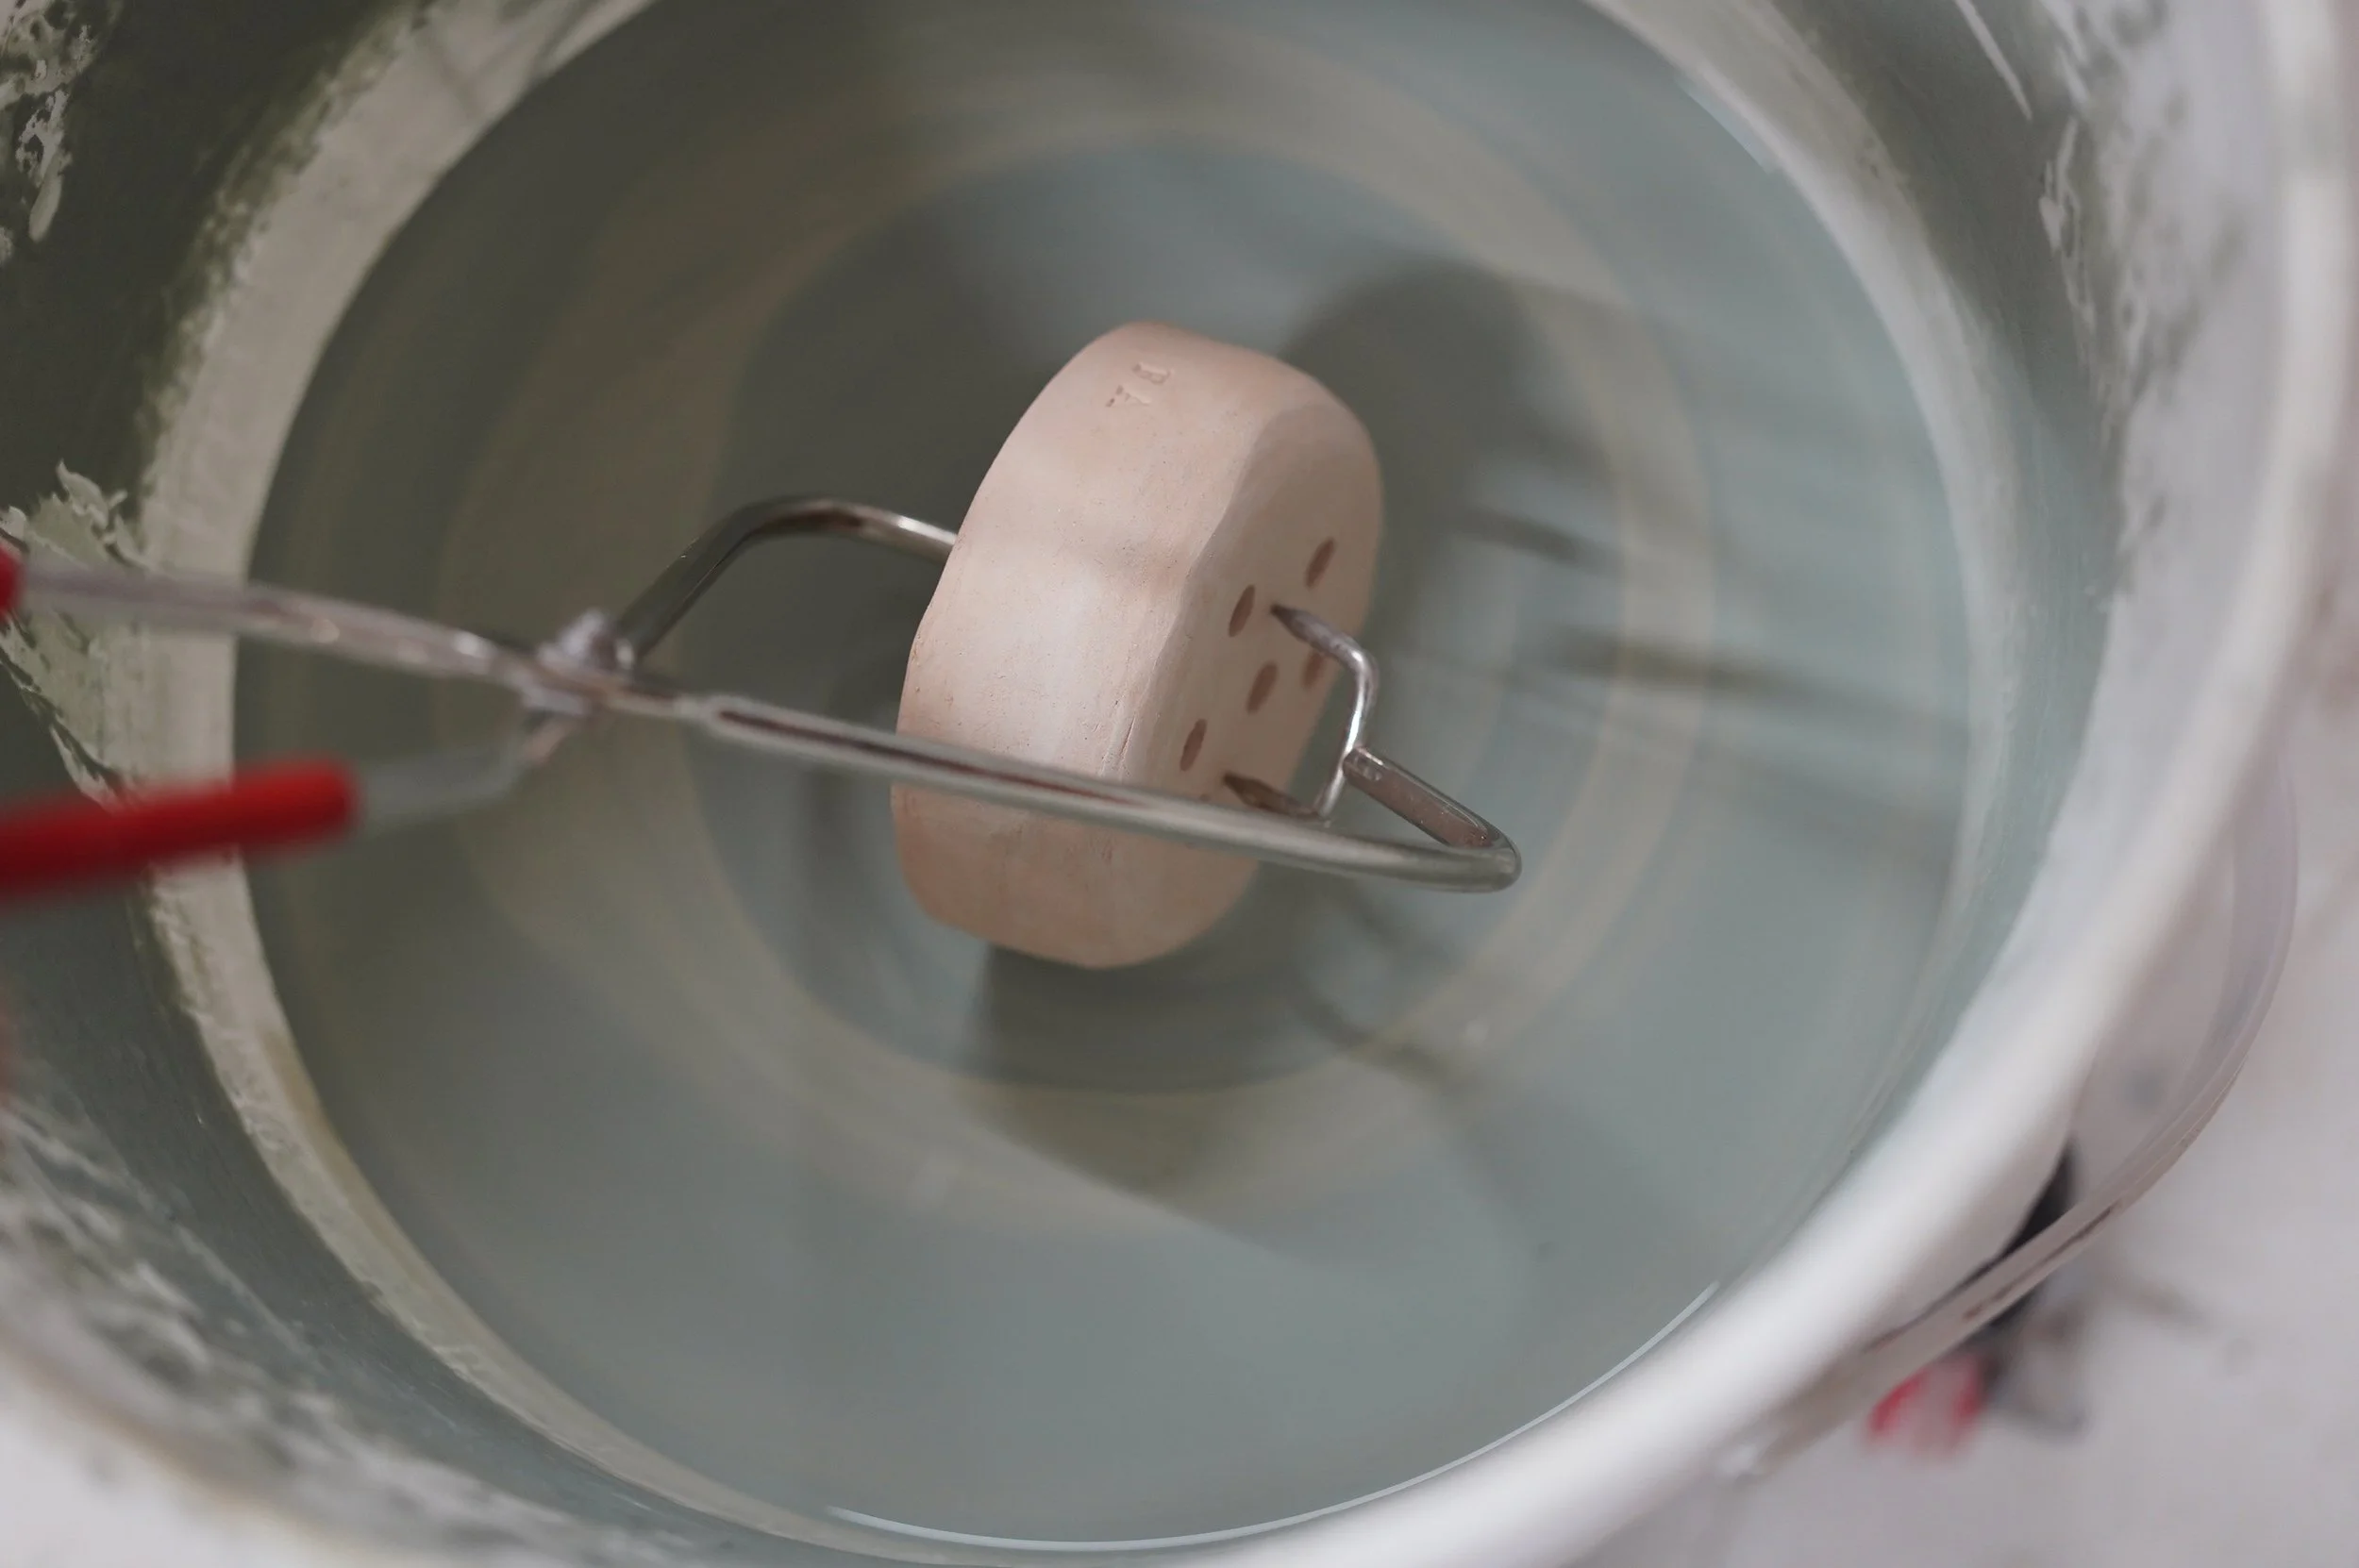
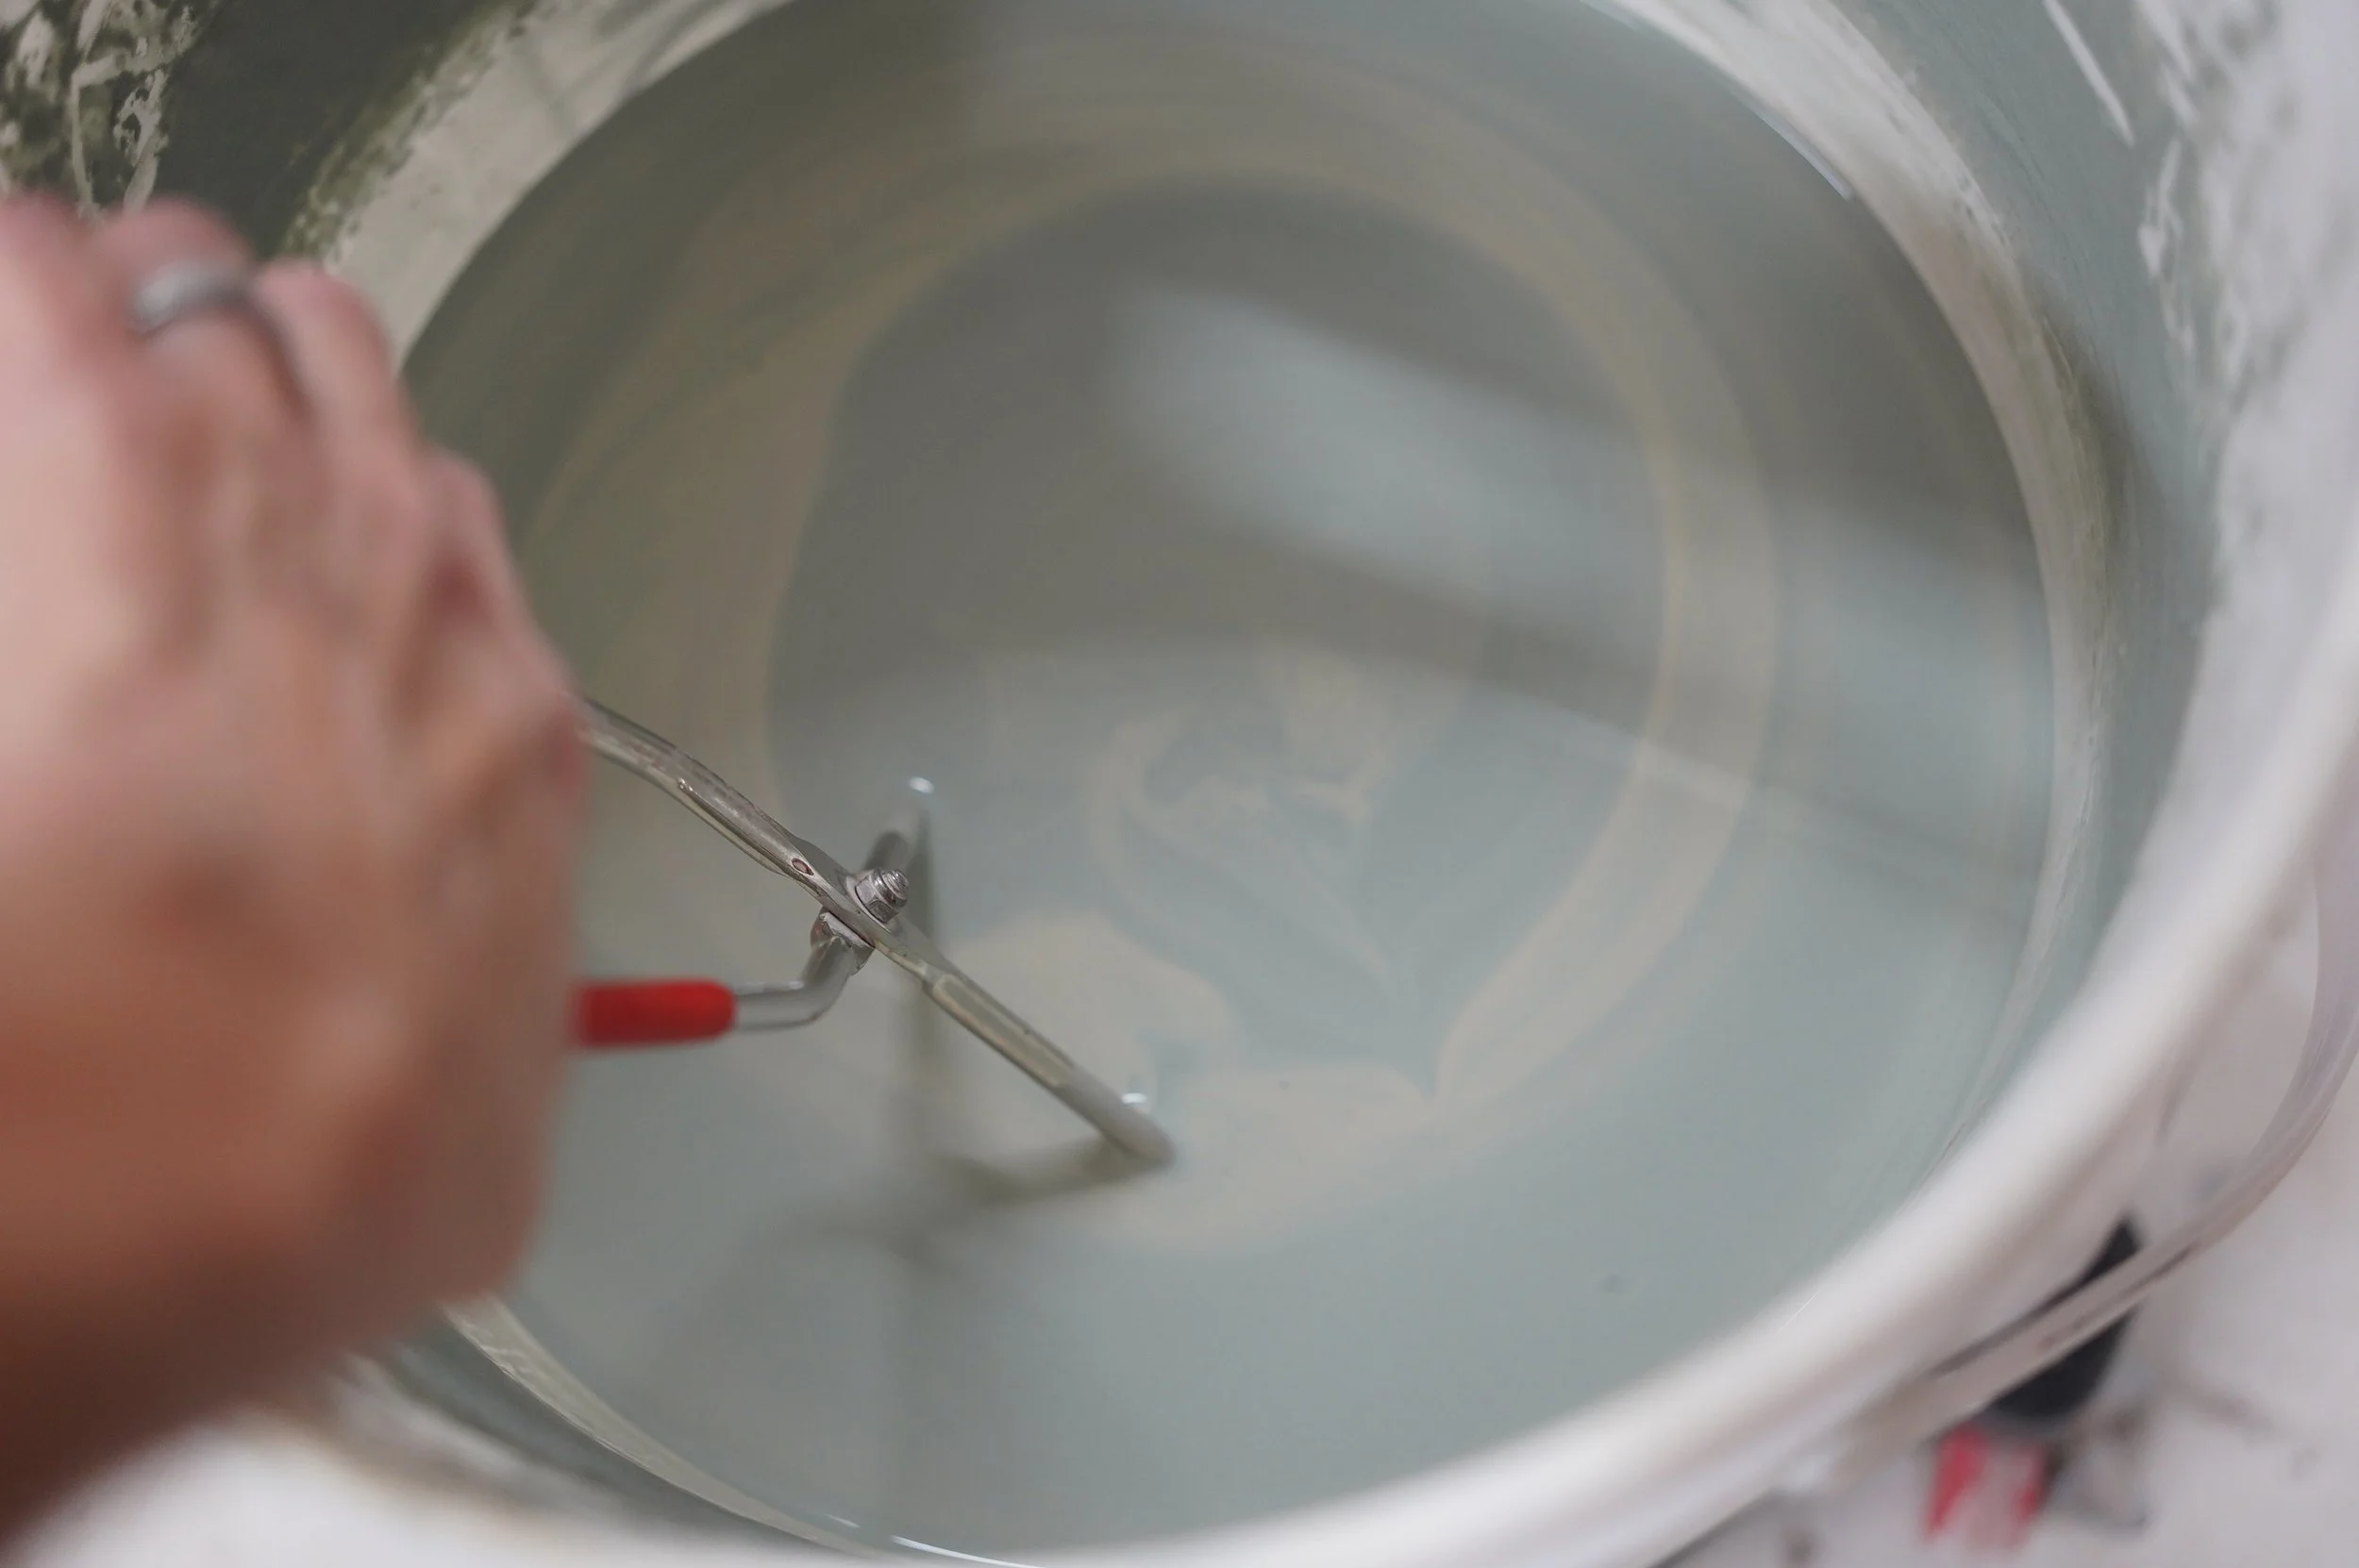
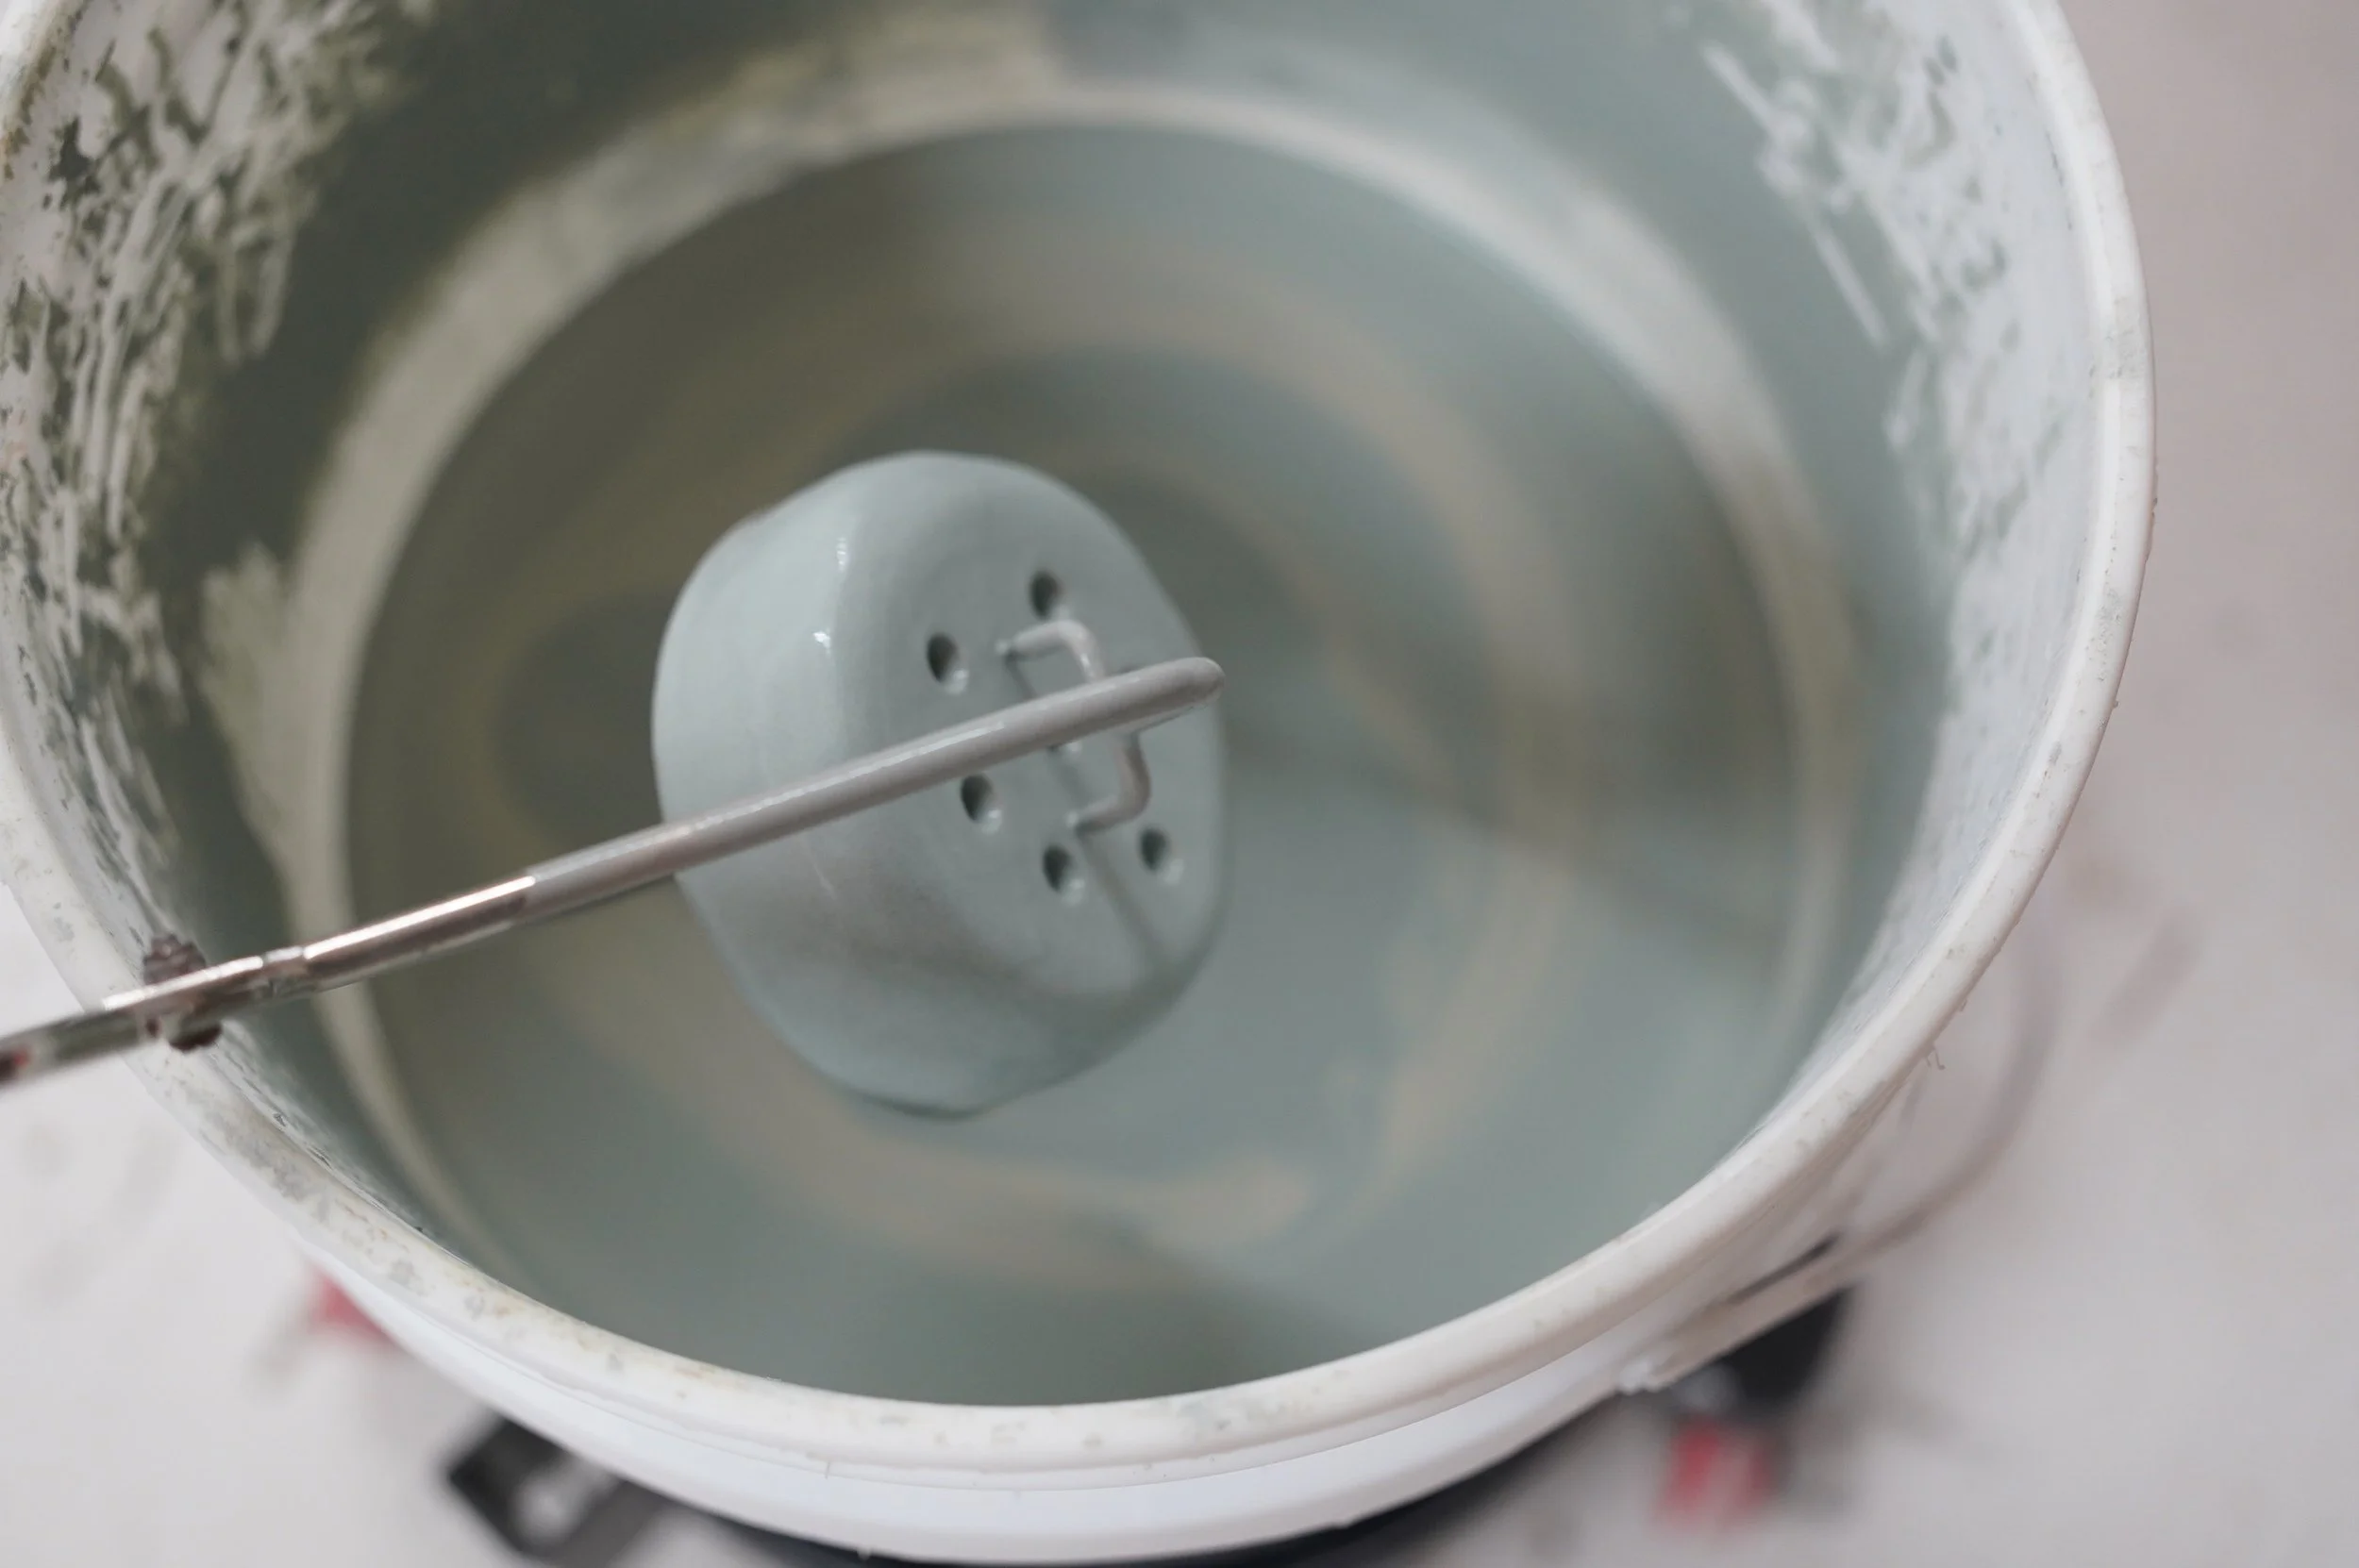
Your hands: Appropriate for pieces that can be safely and comfortably handled without contaminating the glaze or creating unsafe handling conditions.
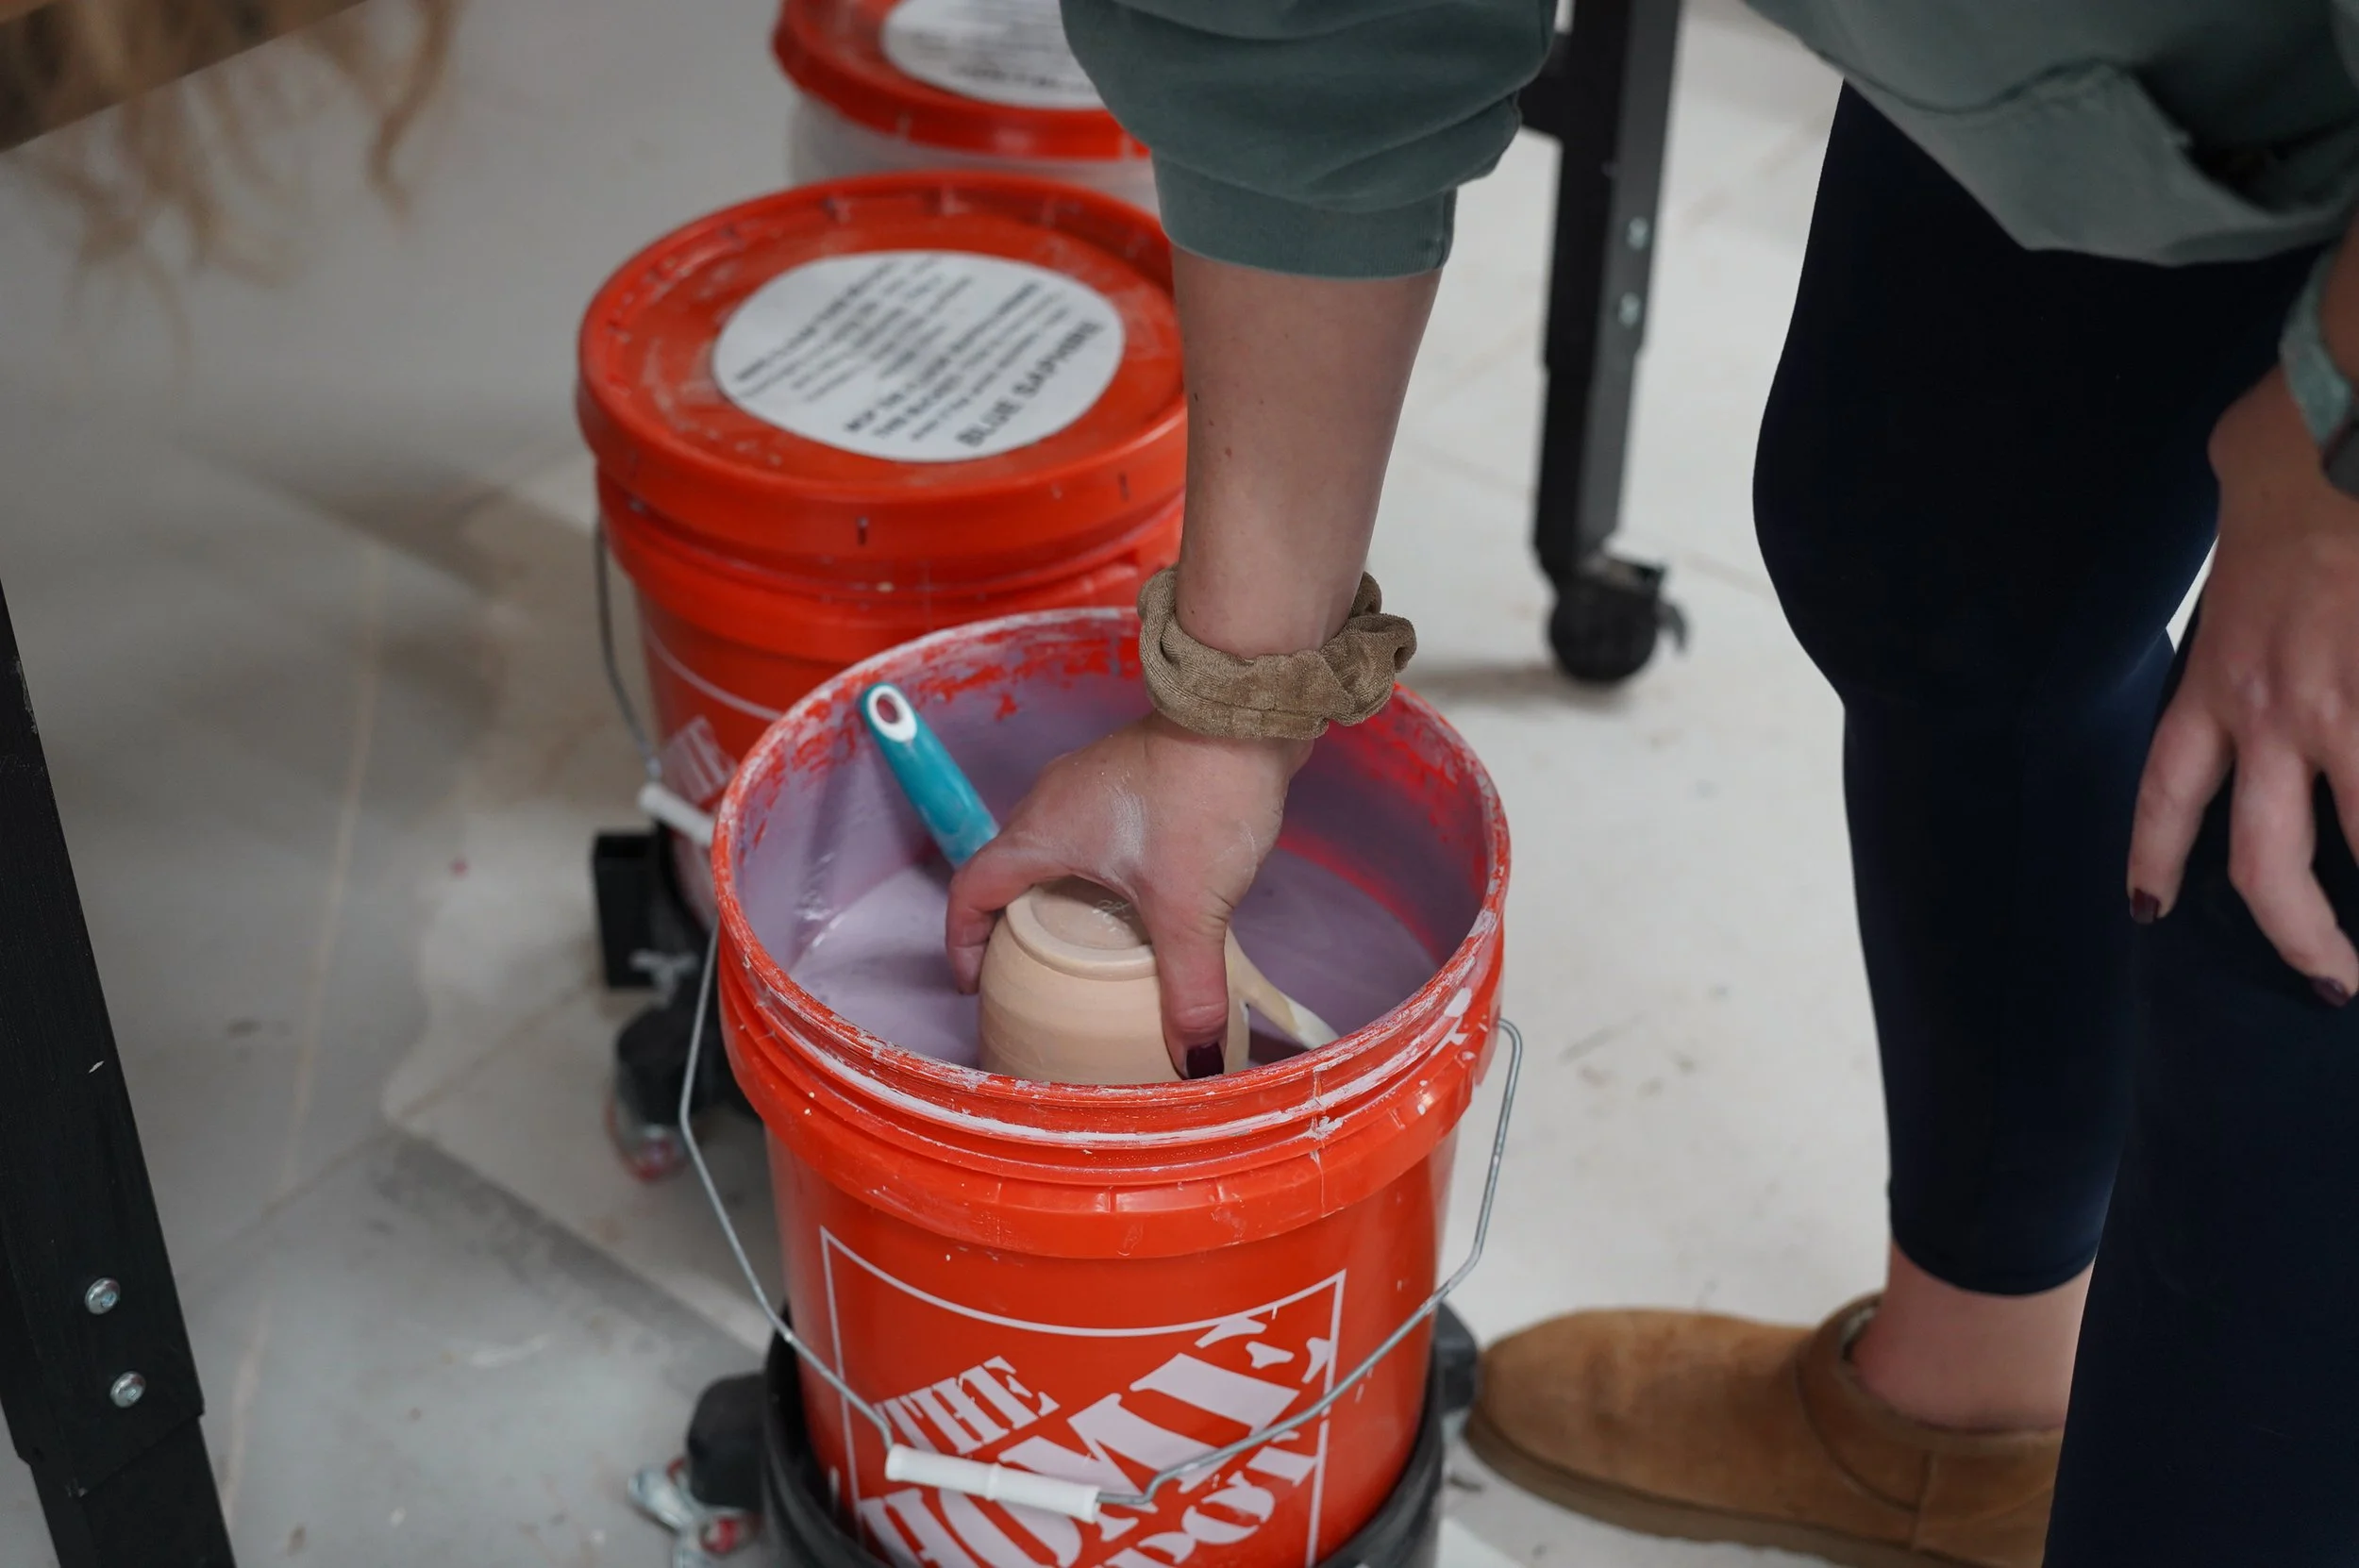
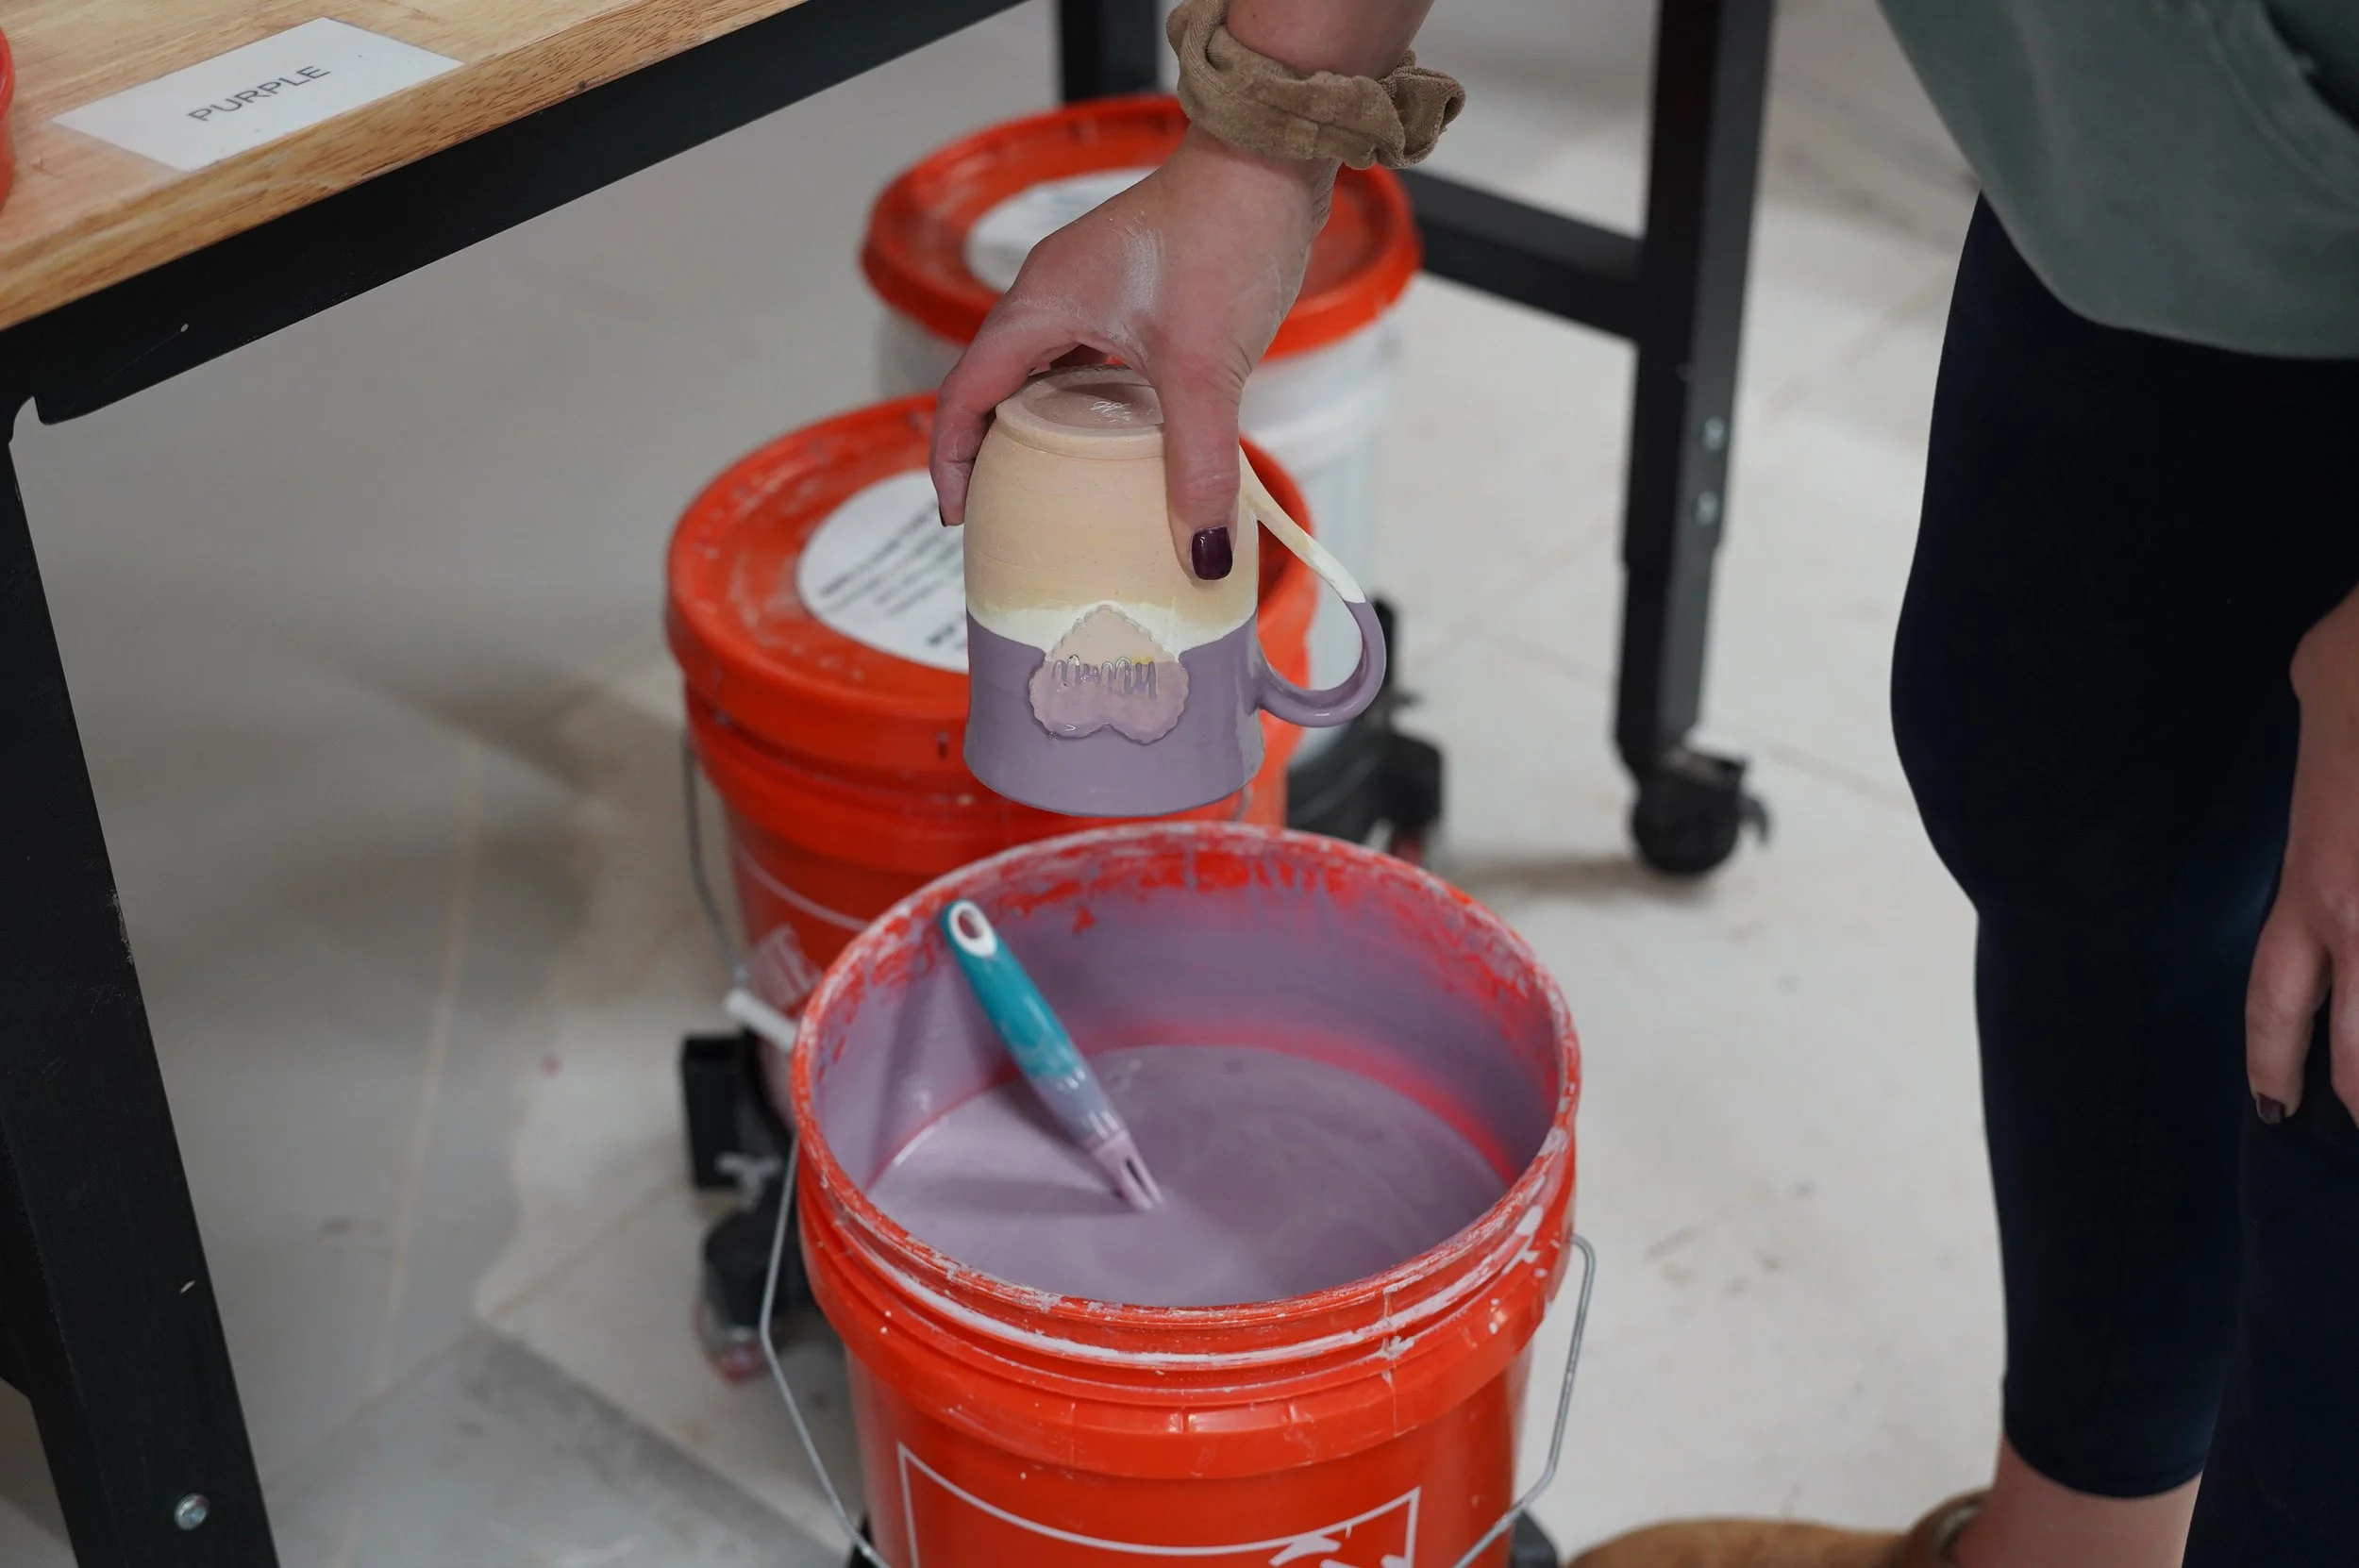
A designated catching plate: Essential when double-dipping or working with multiple colors.
A clean sponge: Needed for wiping glaze off the bottom and lower sides of your pottery.
A designated cleanup bucket: For cleaning glazing tools without introducing unwanted material into the glaze buckets.
Choose your tools before you begin. Never use a tool that has been contaminated with another glaze, clay, or debris.
4. Understanding the Dipping Technique
Dipping may look simple, but proper technique matters!
Before Dipping
Check that the glaze has been thoroughly mixed according to studio instructions.
Ensure the piece is completely dry and free of dust.
Know which areas you want glazed and which areas must remain clear.
Plan how you will hold, submerge, and remove the piece.
While Dipping
Hold the piece securely.
Dip smoothly and confidently rather than hesitating halfway through.
Avoid touching the sides or bottom of the bucket with your pottery.
Allow excess glaze to drain back into the same bucket.
Avoid unnecessary repeated dipping, which can create an overly thick application.
The goal is to achieve an even coating without excessive glaze buildup.
Note on Glaze Thickness: More glaze does not necessarily mean a better finish. Glaze that is too thick can run, crack, or cause structural defects during firing. When in doubt, ask an instructor or experienced studio member to evaluate your application.
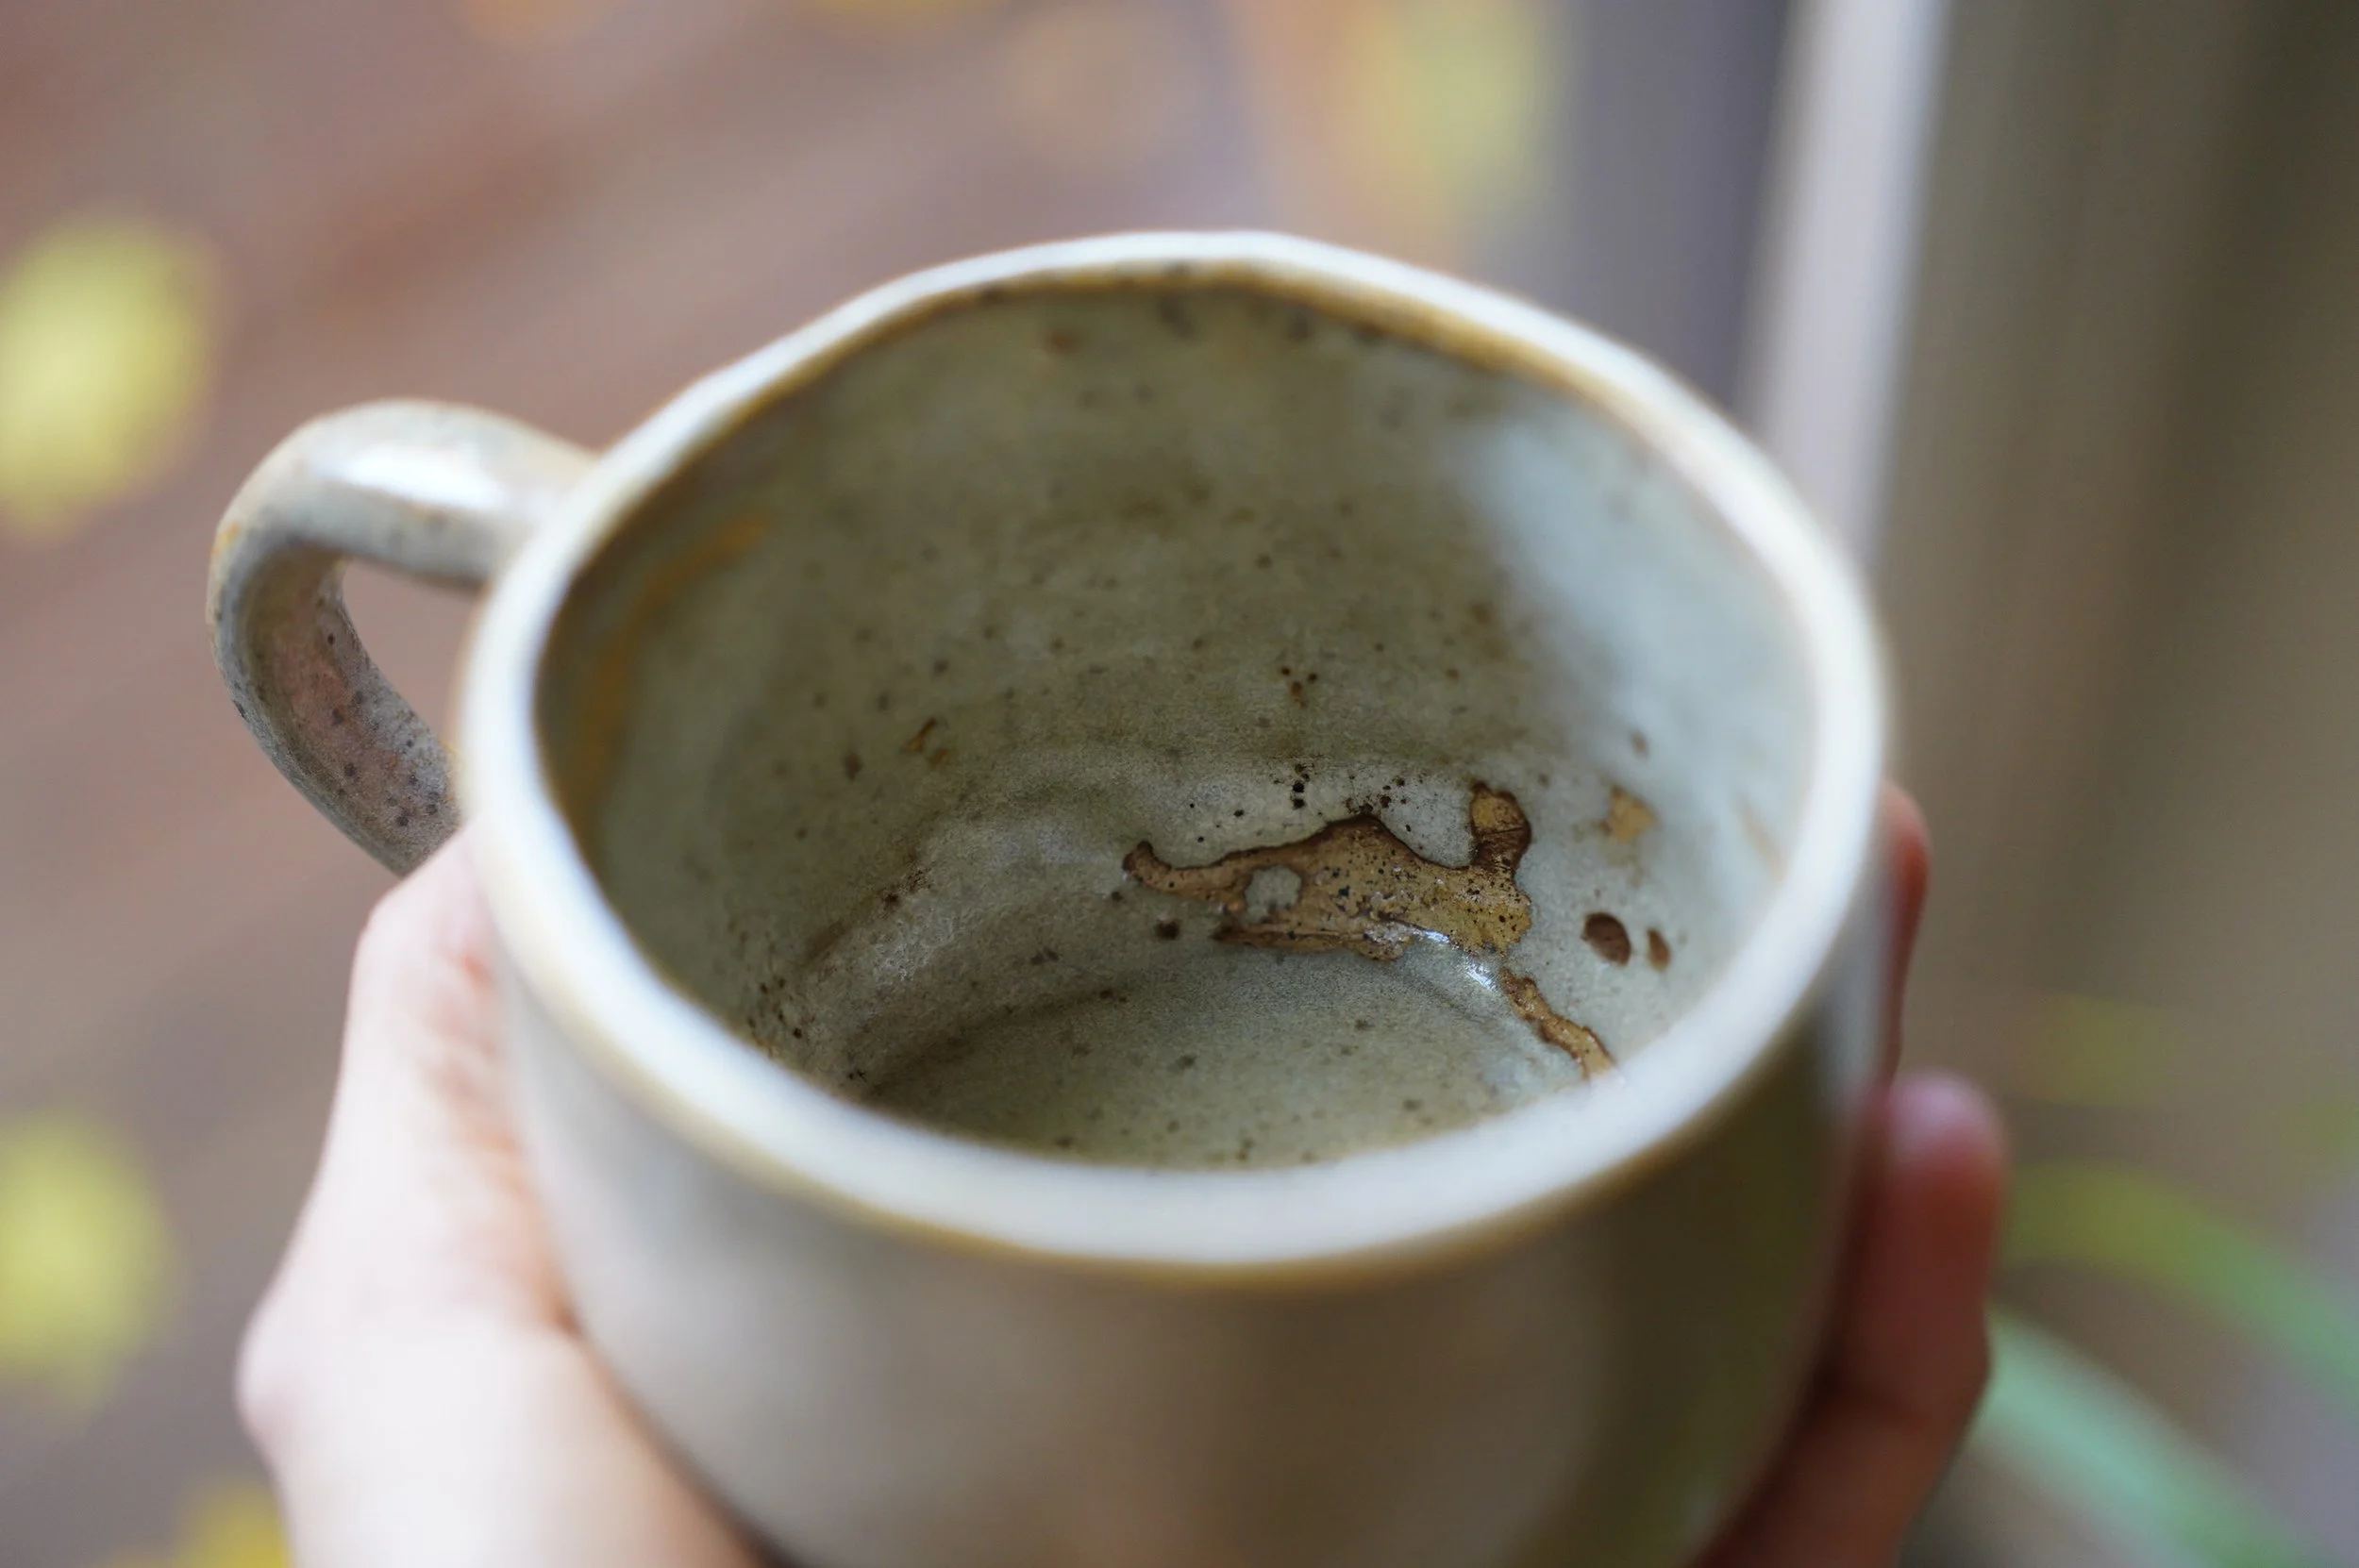
A glaze may come out different than you expected for dozens of reasons. You may love the unexpected results or you may not. Pottery teaches us to learn from our mistakes and to not hold on too firmly to what we expect the outcome will be. Allow yourself to be accepting of unexpected outcomes.
5. Double-Dipping and Combining Colors
Combining glazes can create beautiful and unexpected results. However, it also requires extra care. When working with more than one color, keep your work organized and prevent one glaze from contaminating another.
Studio Guidelines for Layering:
Members: If double-dipping, always use your own designated catching plate.
Students: If double-dipping, ask your instructor to evaluate your glaze thickness and application plan first.
Cross-Bucket Prevention: Never allow excess glaze from one bucket to drip into another.
Zero Waste Return: Never return leftover glaze or contaminated glaze back into a bucket.
Tool Hygiene: Keep your tools and hands completely clean when moving between different colors.
If you are experimenting with combinations for the first time, test your technique on a small sample or test tile rather than risking a finished piece.
6. The Most Important Step: Wipe the Bottom!
This is one of the most critical steps in the entire glazing process. Glaze must not remain on the bottom or foot of your pottery where the piece touches the kiln shelf.
Mandatory Finishing Rules:
Thoroughly wipe the entire bottom of every piece using a damp sponge.
Clear glaze at least ¼ inch up the lower sides of the piece.
Check for stray glaze drips, especially around edges, foot rings, and recessed areas.
Confirm that no glaze remains on any surface that contacts the kiln shelf.
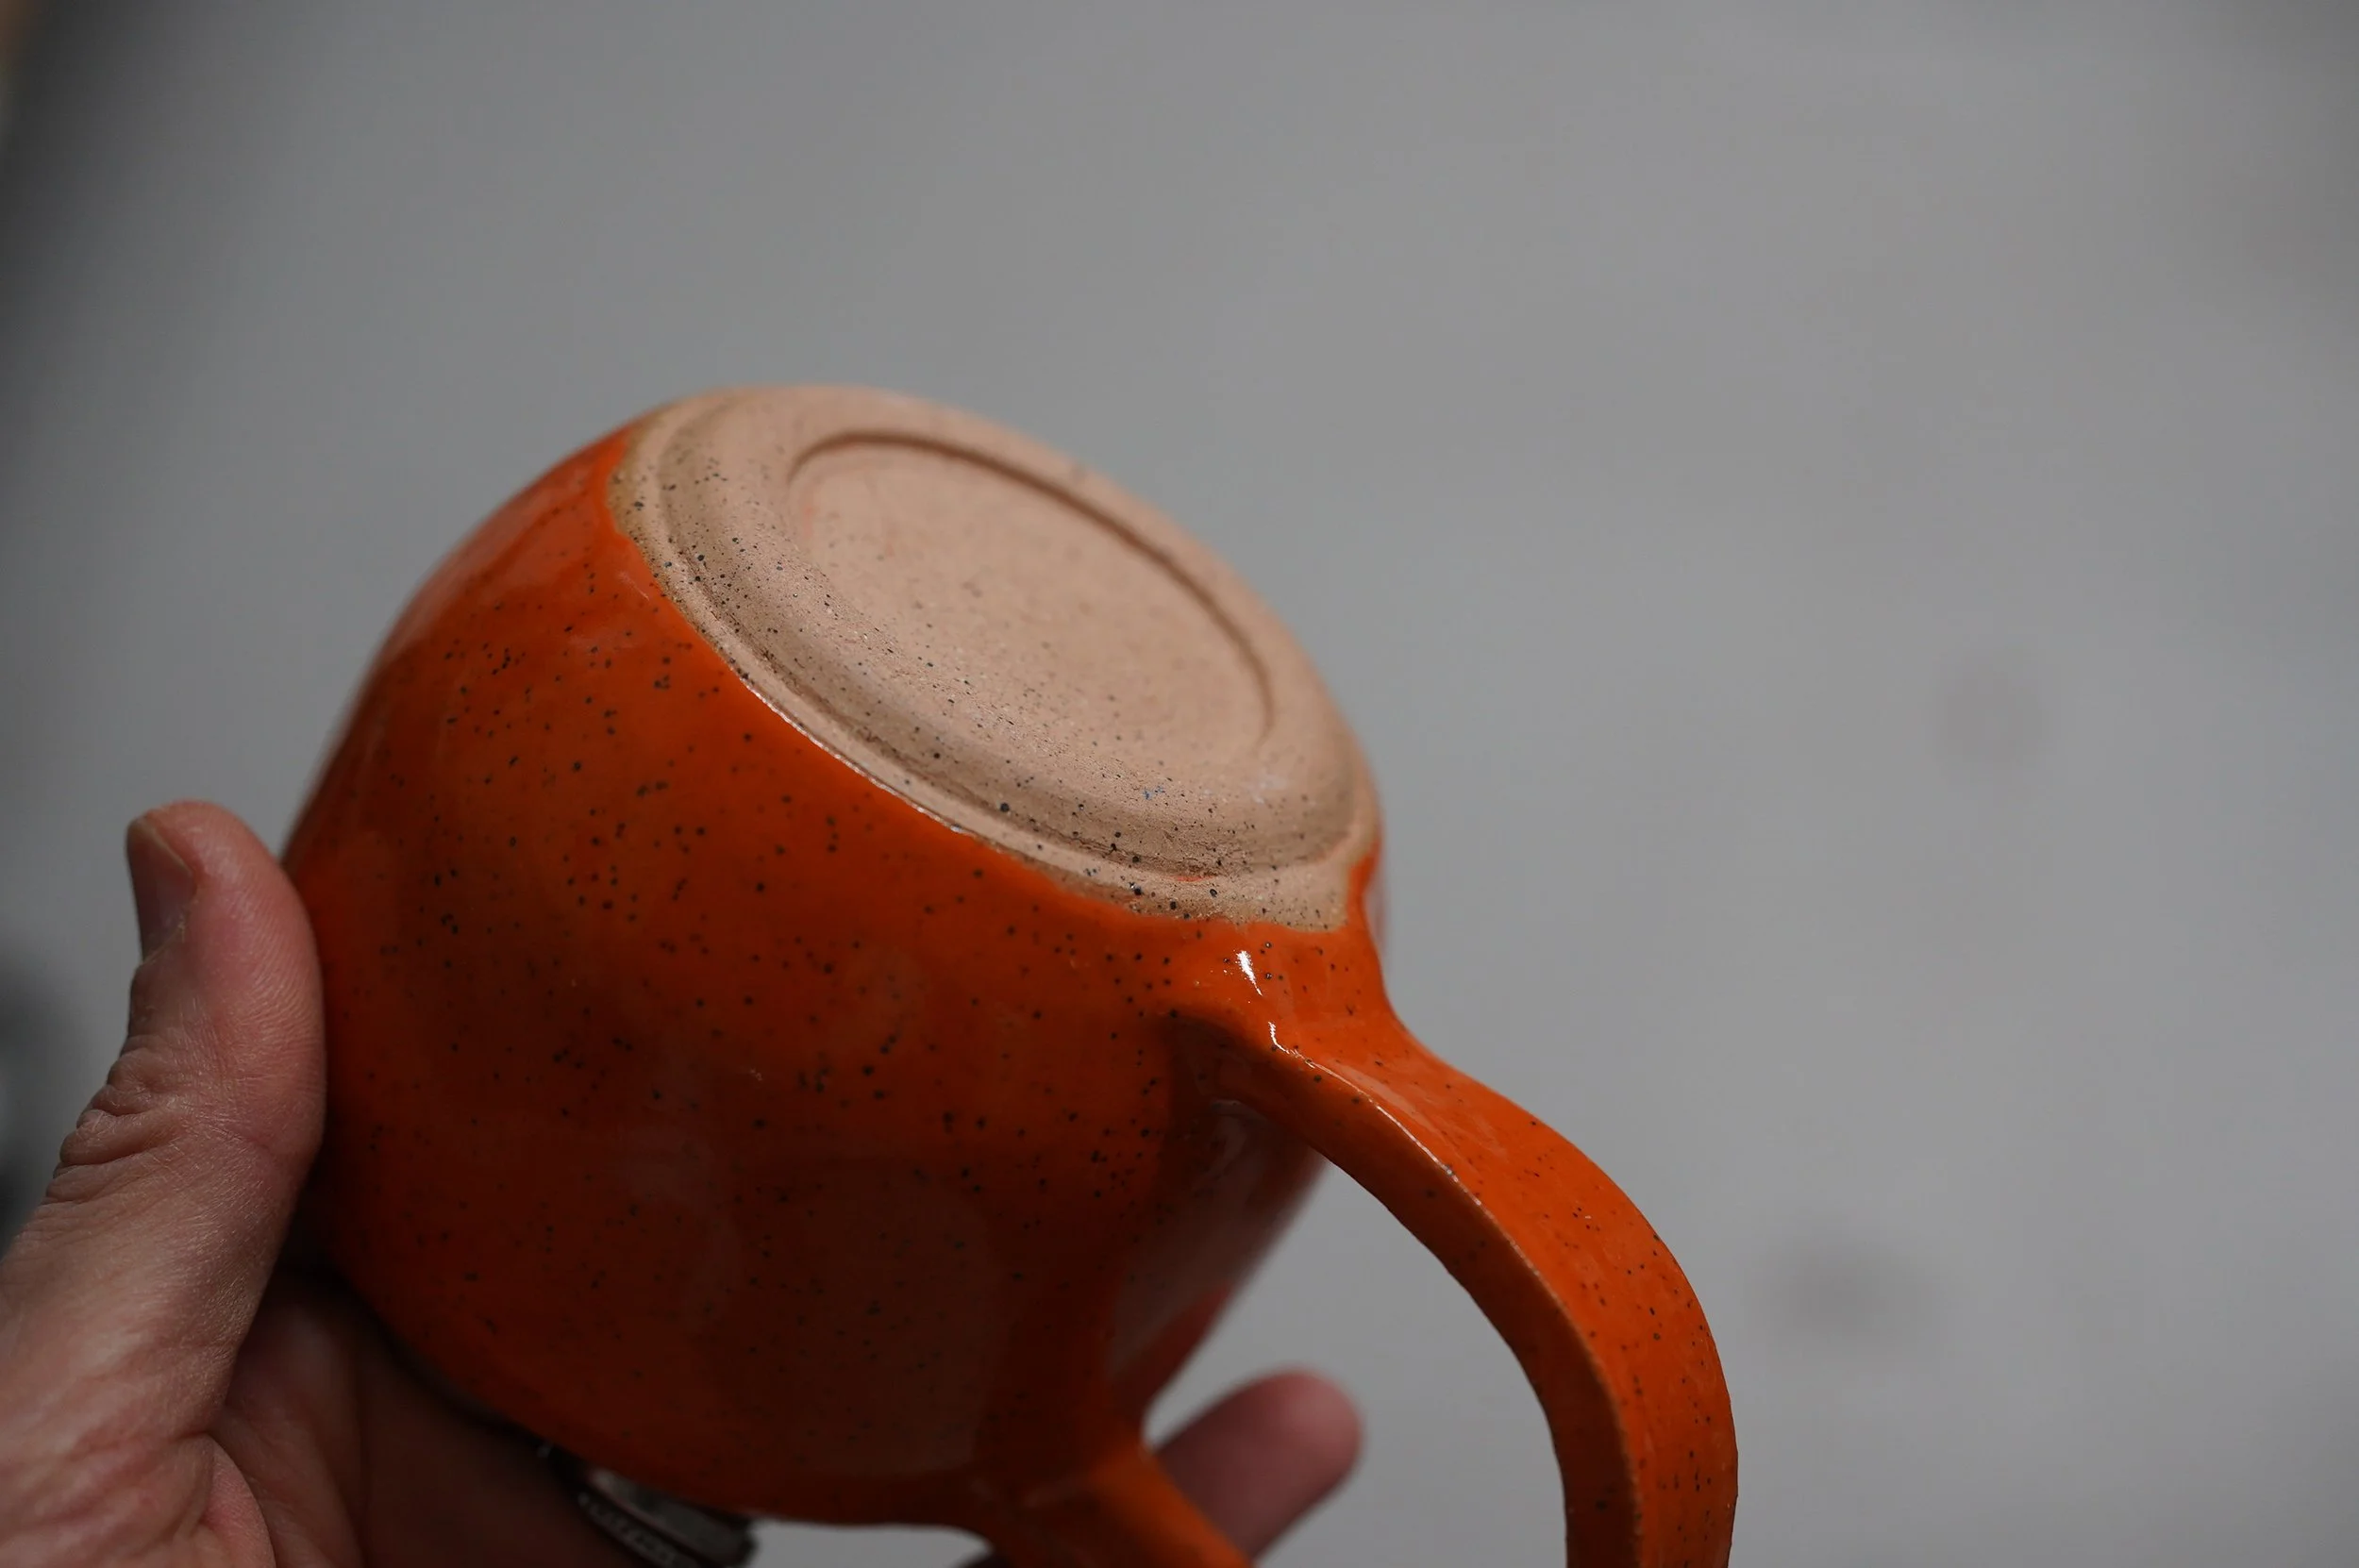
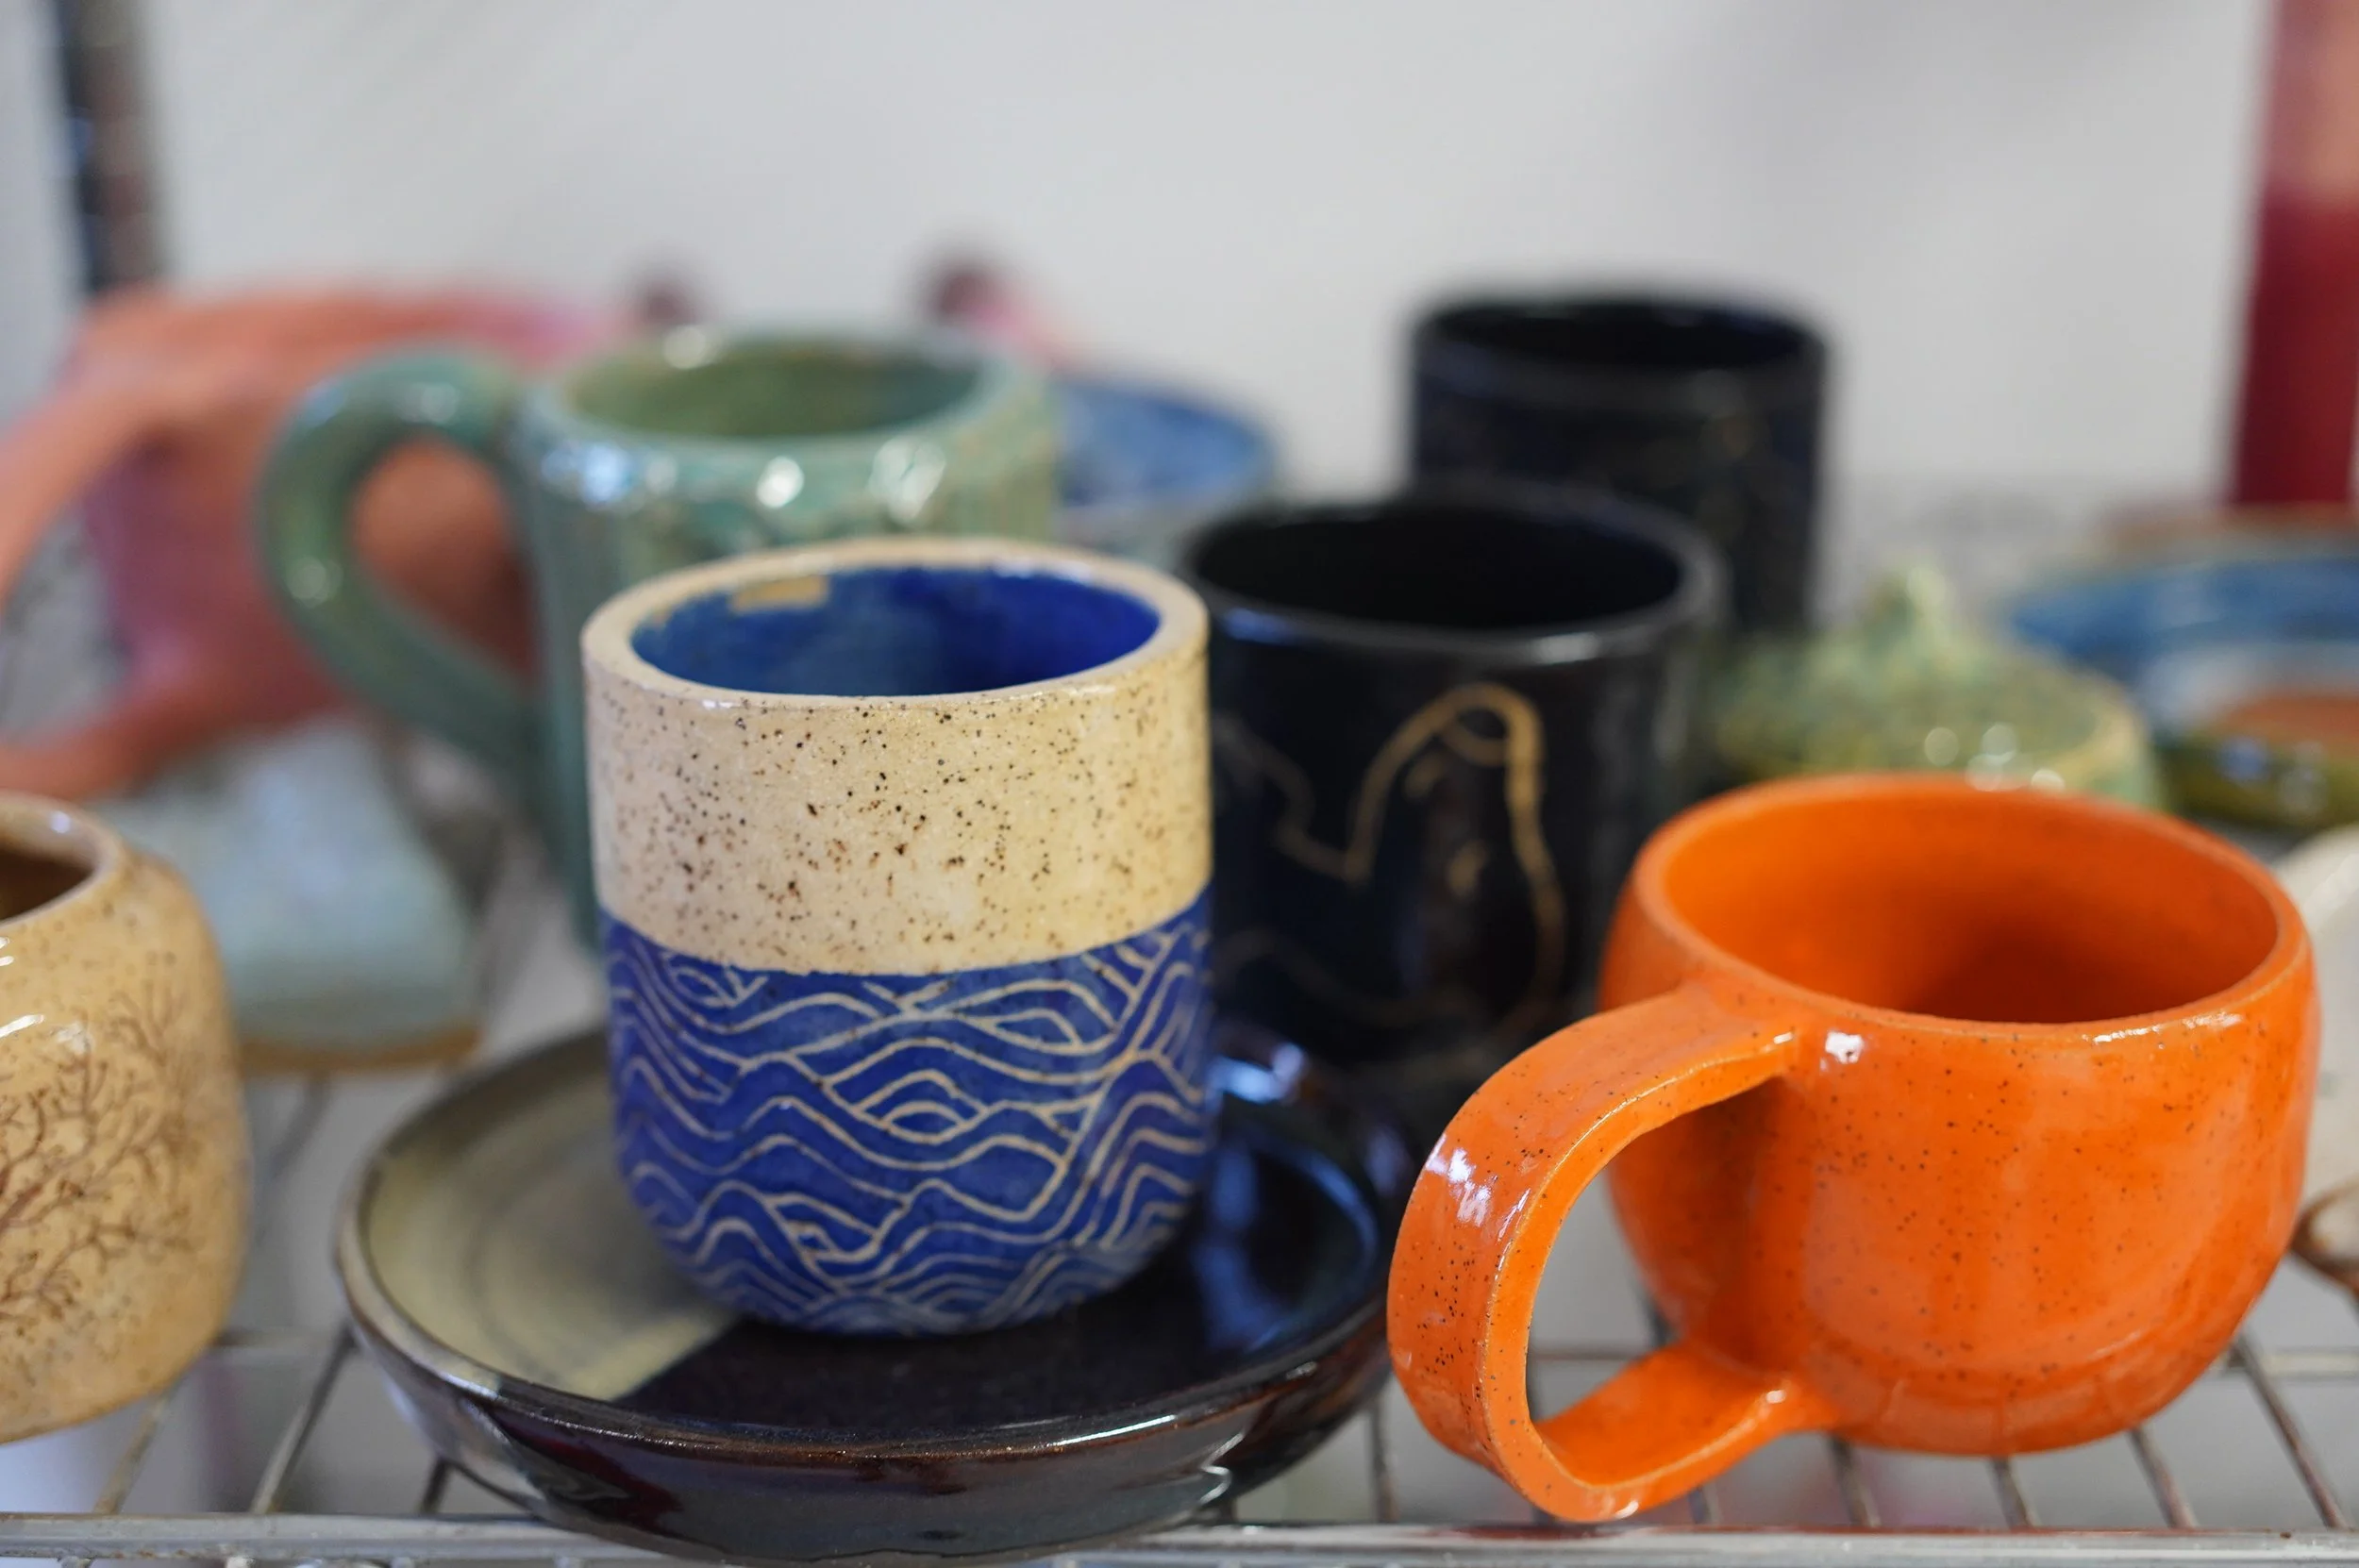
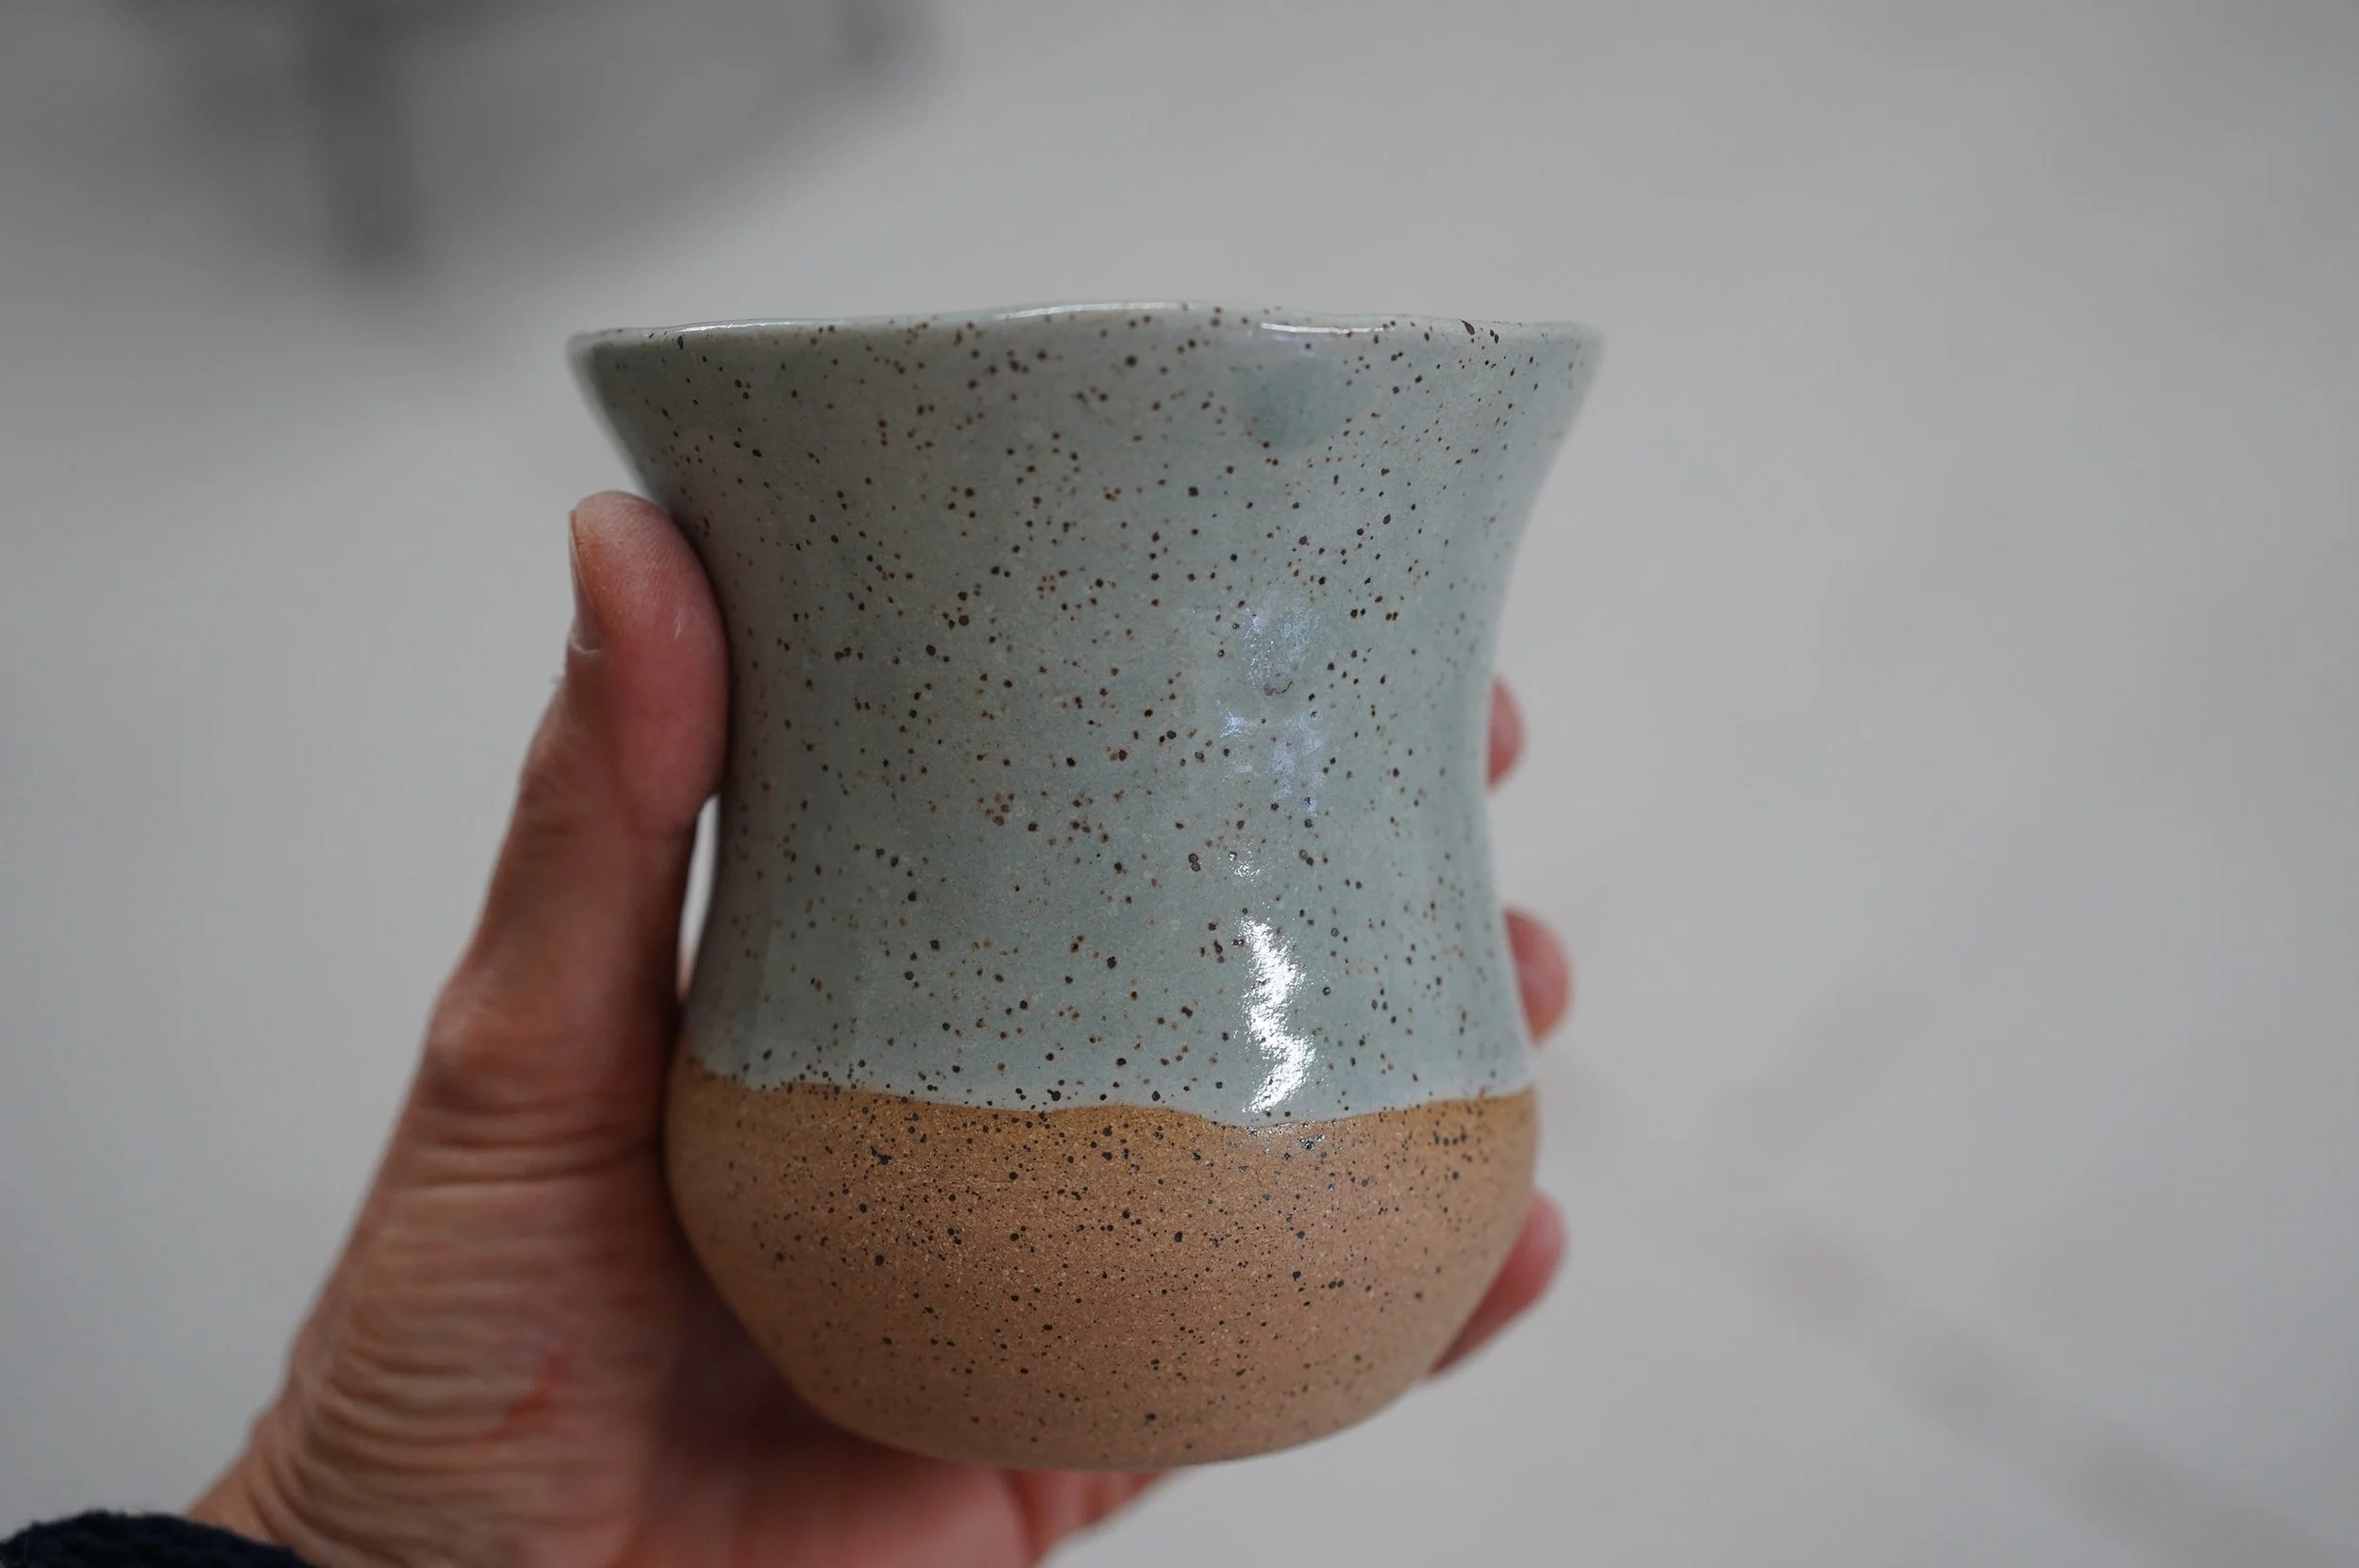
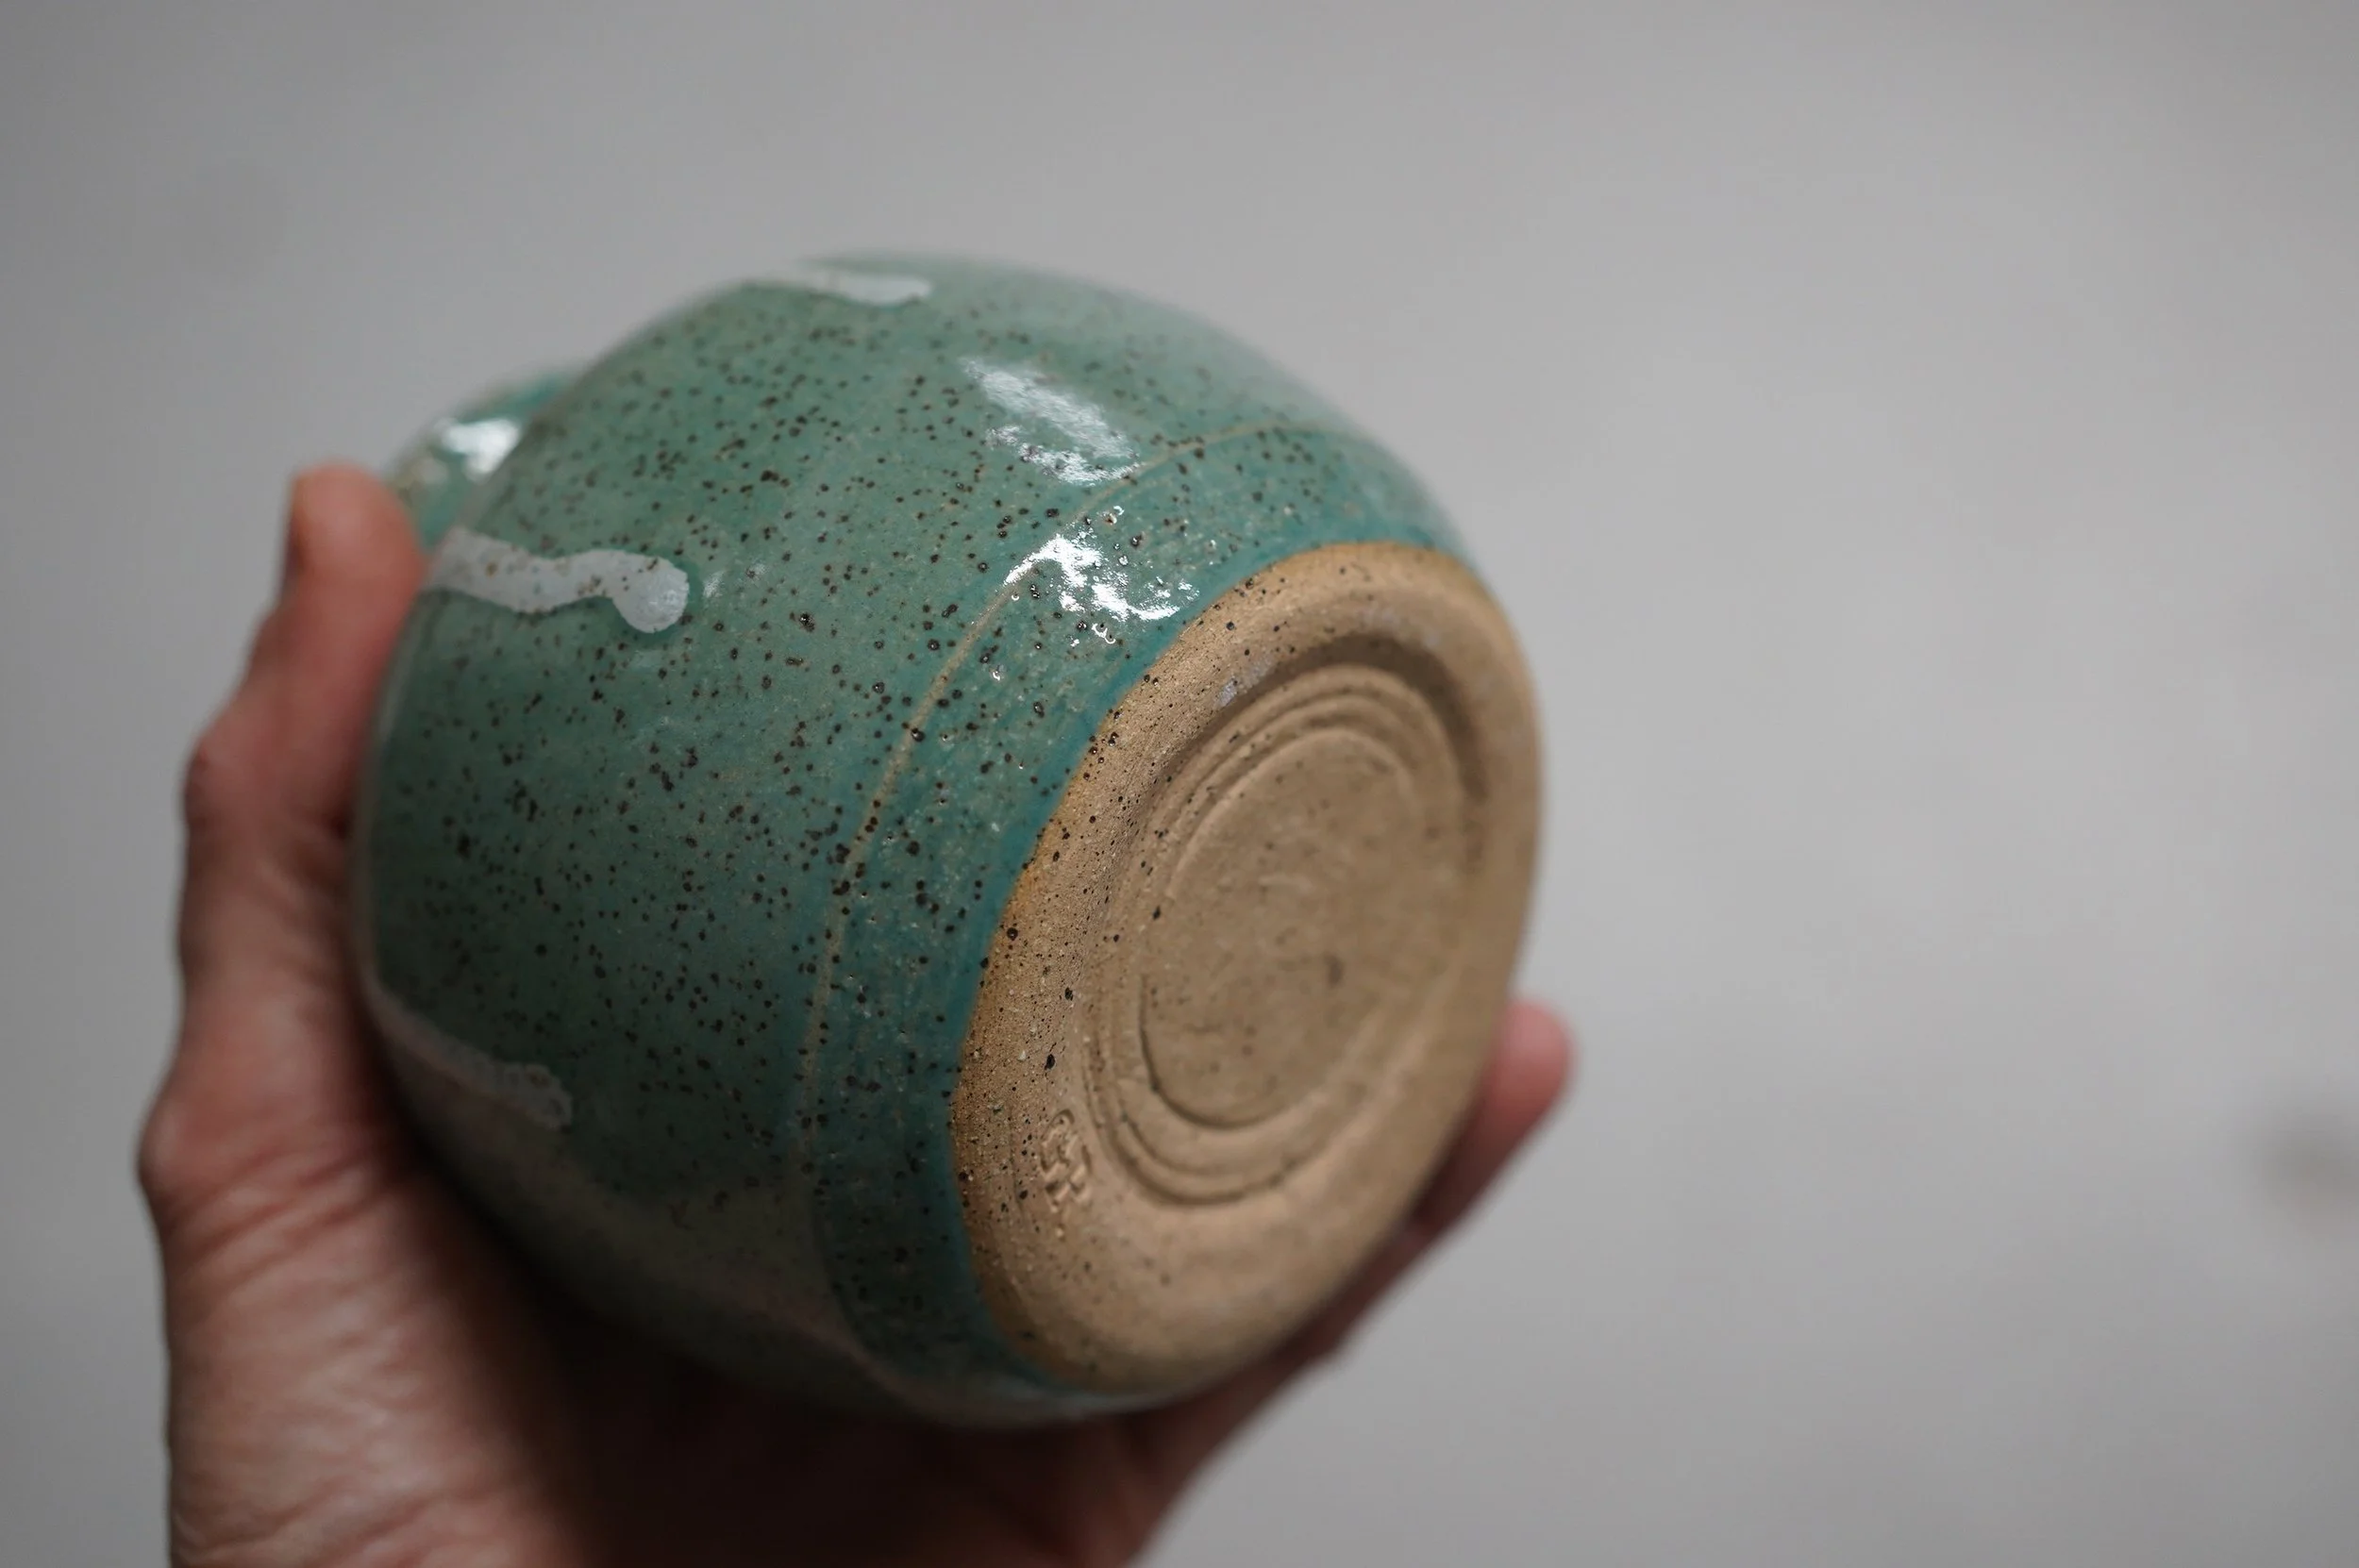
Even a small amount of glaze left on the bottom can melt during firing and fuse your pottery to the kiln shelf, damaging both your work and the studio's kiln. Leaving an inch or two of a mug or vase unglazed can make for a really beautiful finished product, having a two-toned effect with mixed textures, without having to be dipped in two different glazes, like the piece below.
Take your time. Turn the piece around and inspect it carefully from every angle before placing it on the designated glazing shelf.
7. Protect Our Shared Glaze Buckets: Prevent Cross-Contamination
Atacama Clay Studio uses shared 5-gallon glaze buckets. These glazes are community resources, and keeping them clean is everyone's responsibility.
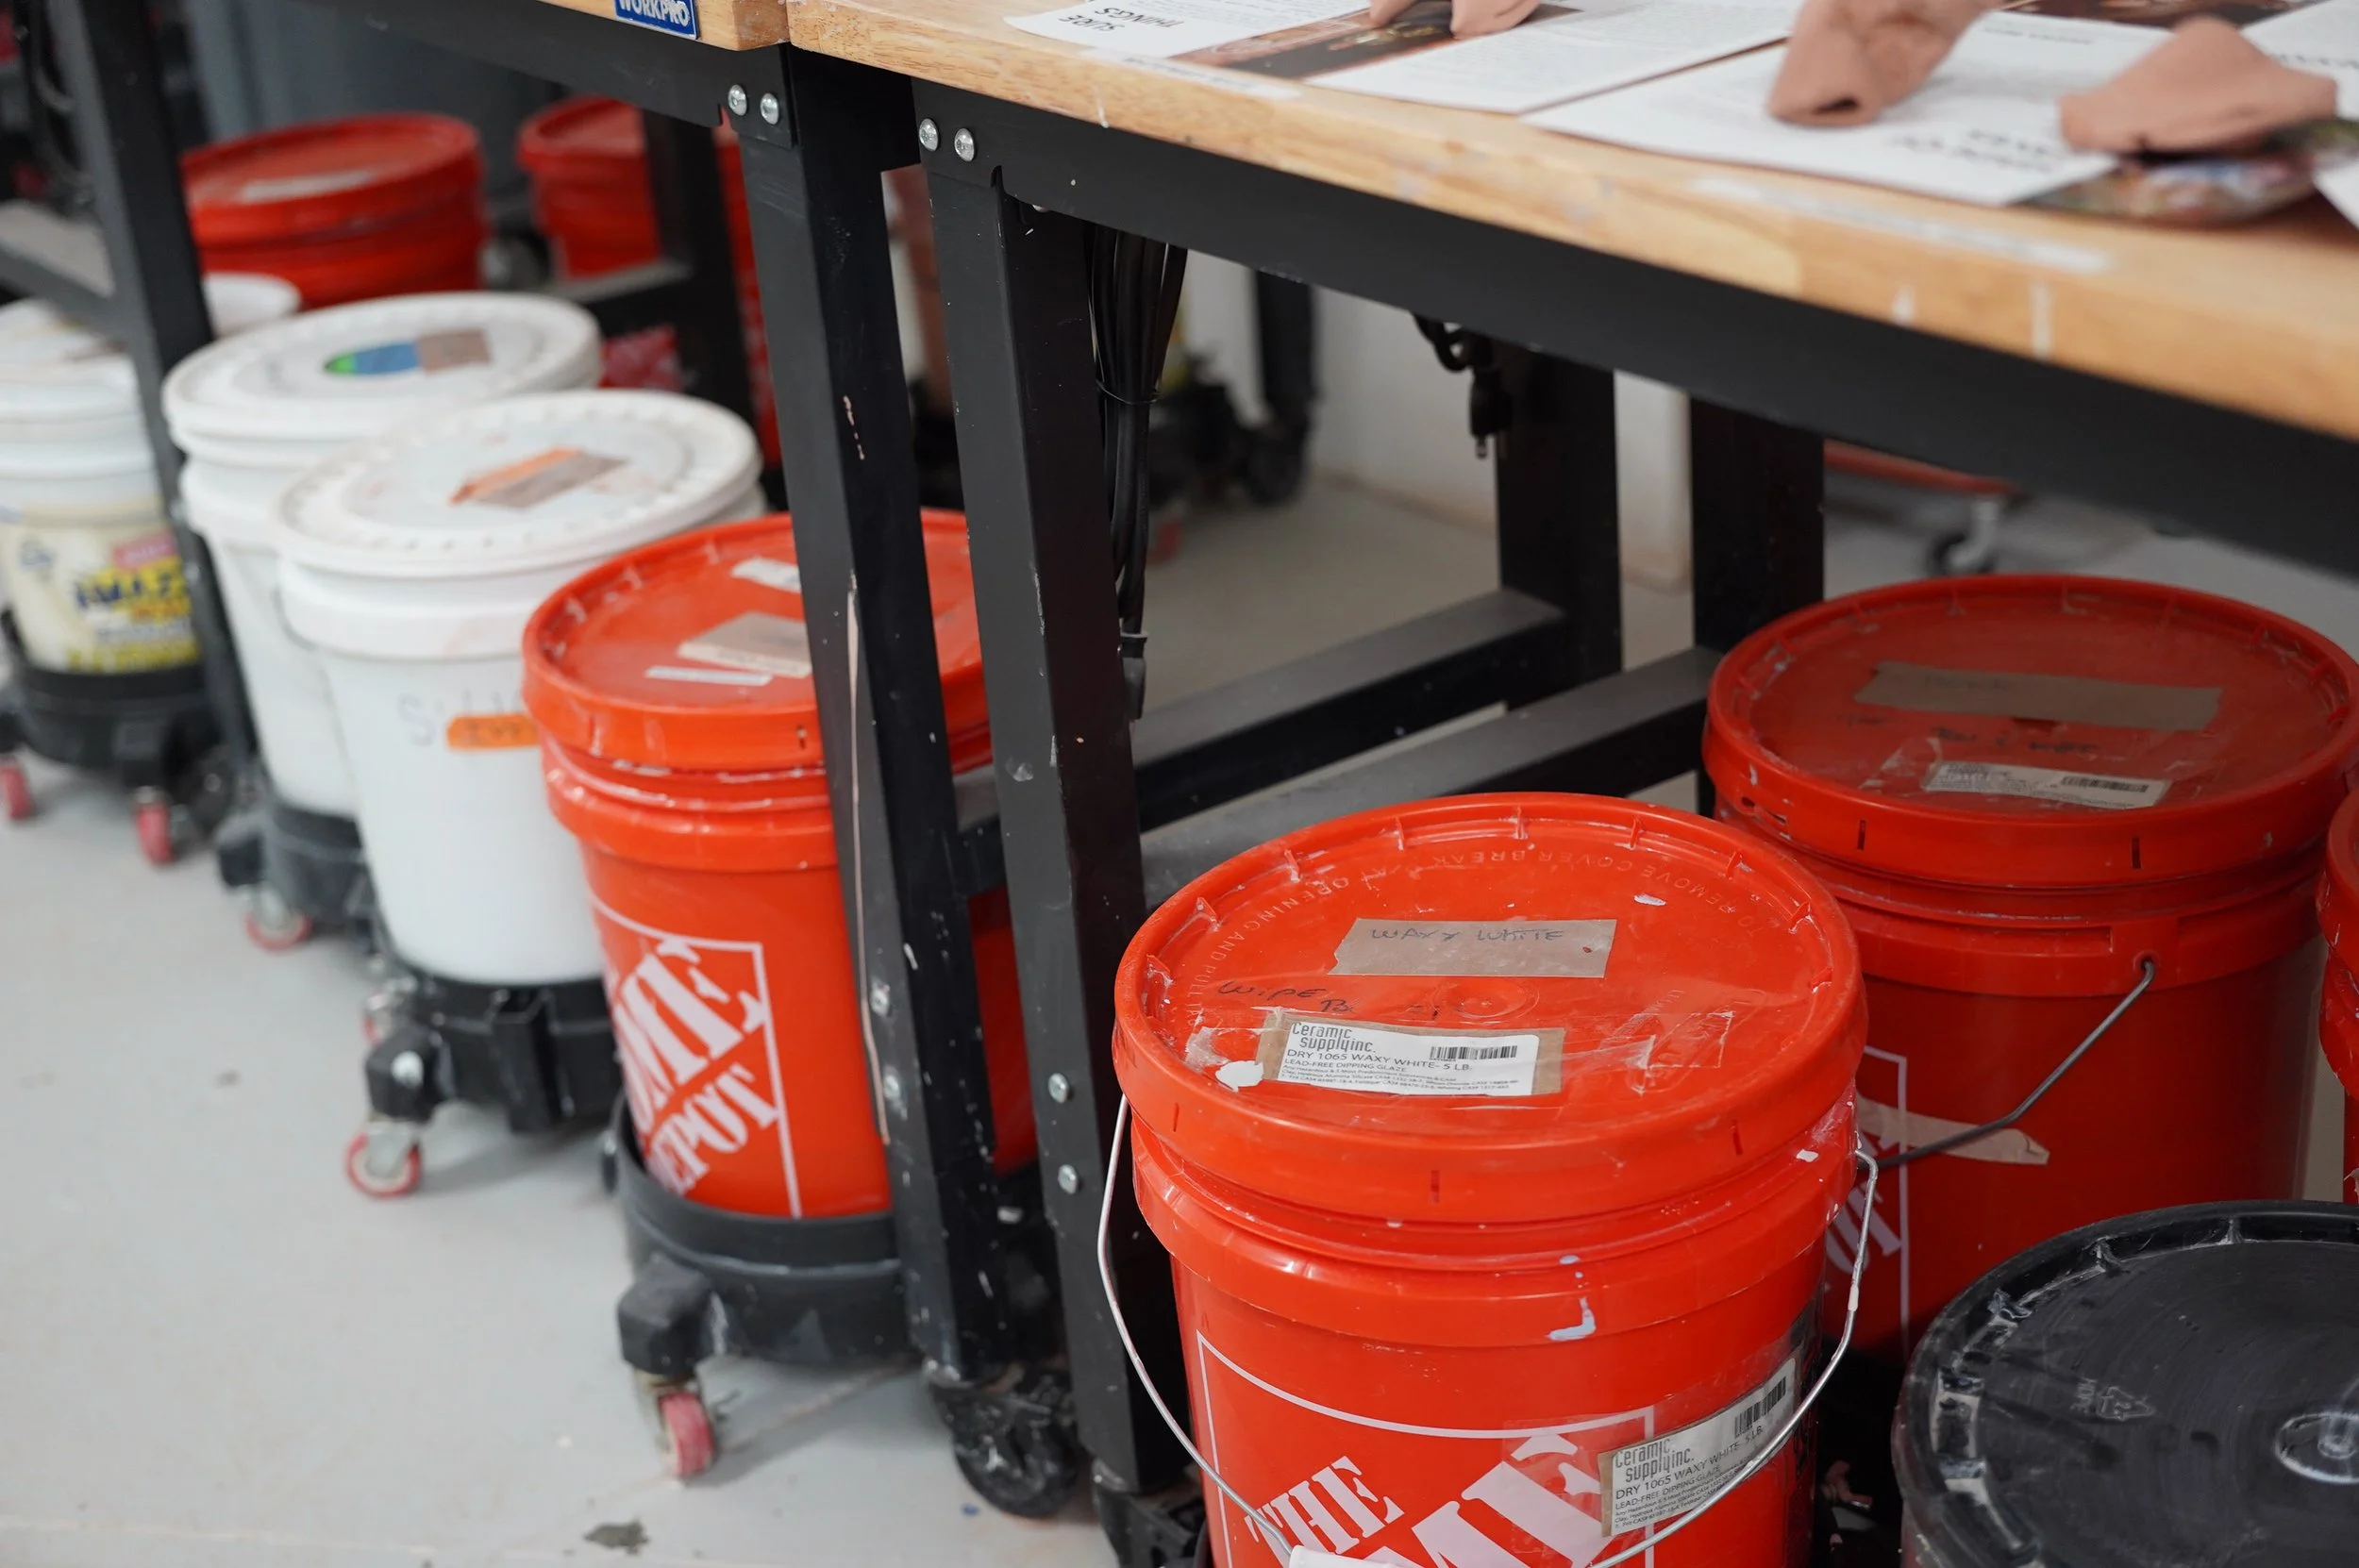
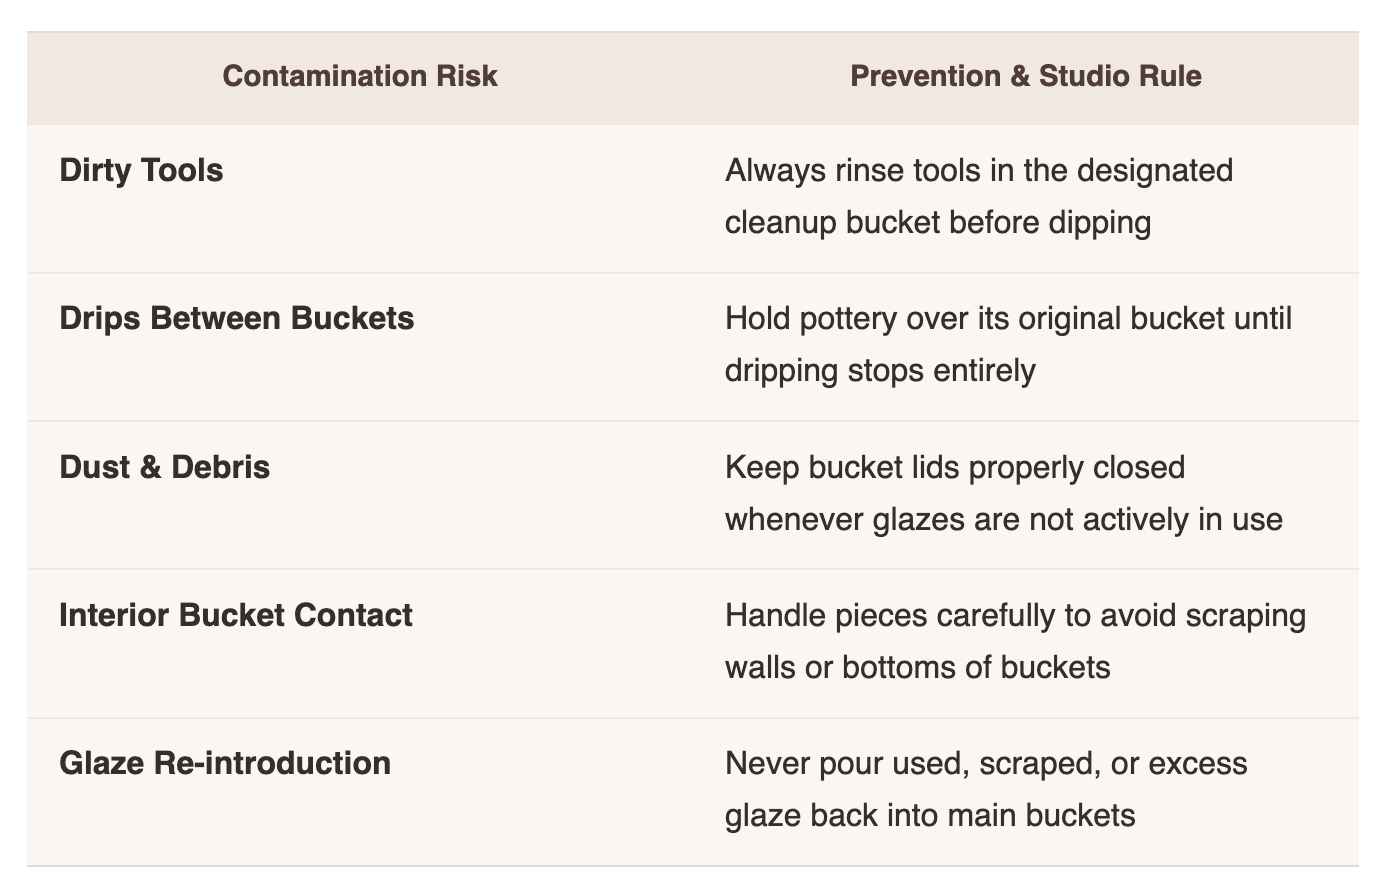
Core Bucket Rules:
Never put dirty or contaminated tools into a glaze bucket.
Never pour leftover glaze back into its original bucket.
Do not use running water to clean glazing tools—use the studio's designated bucket-cleaning system.
Keep bucket lids, rims, and surrounding rolling carts clean.
Always return buckets and tools to their designated storage spots.
A single contaminated glaze bucket can affect dozens of potters. A few extra seconds of care saves everyone time, materials, and frustration.
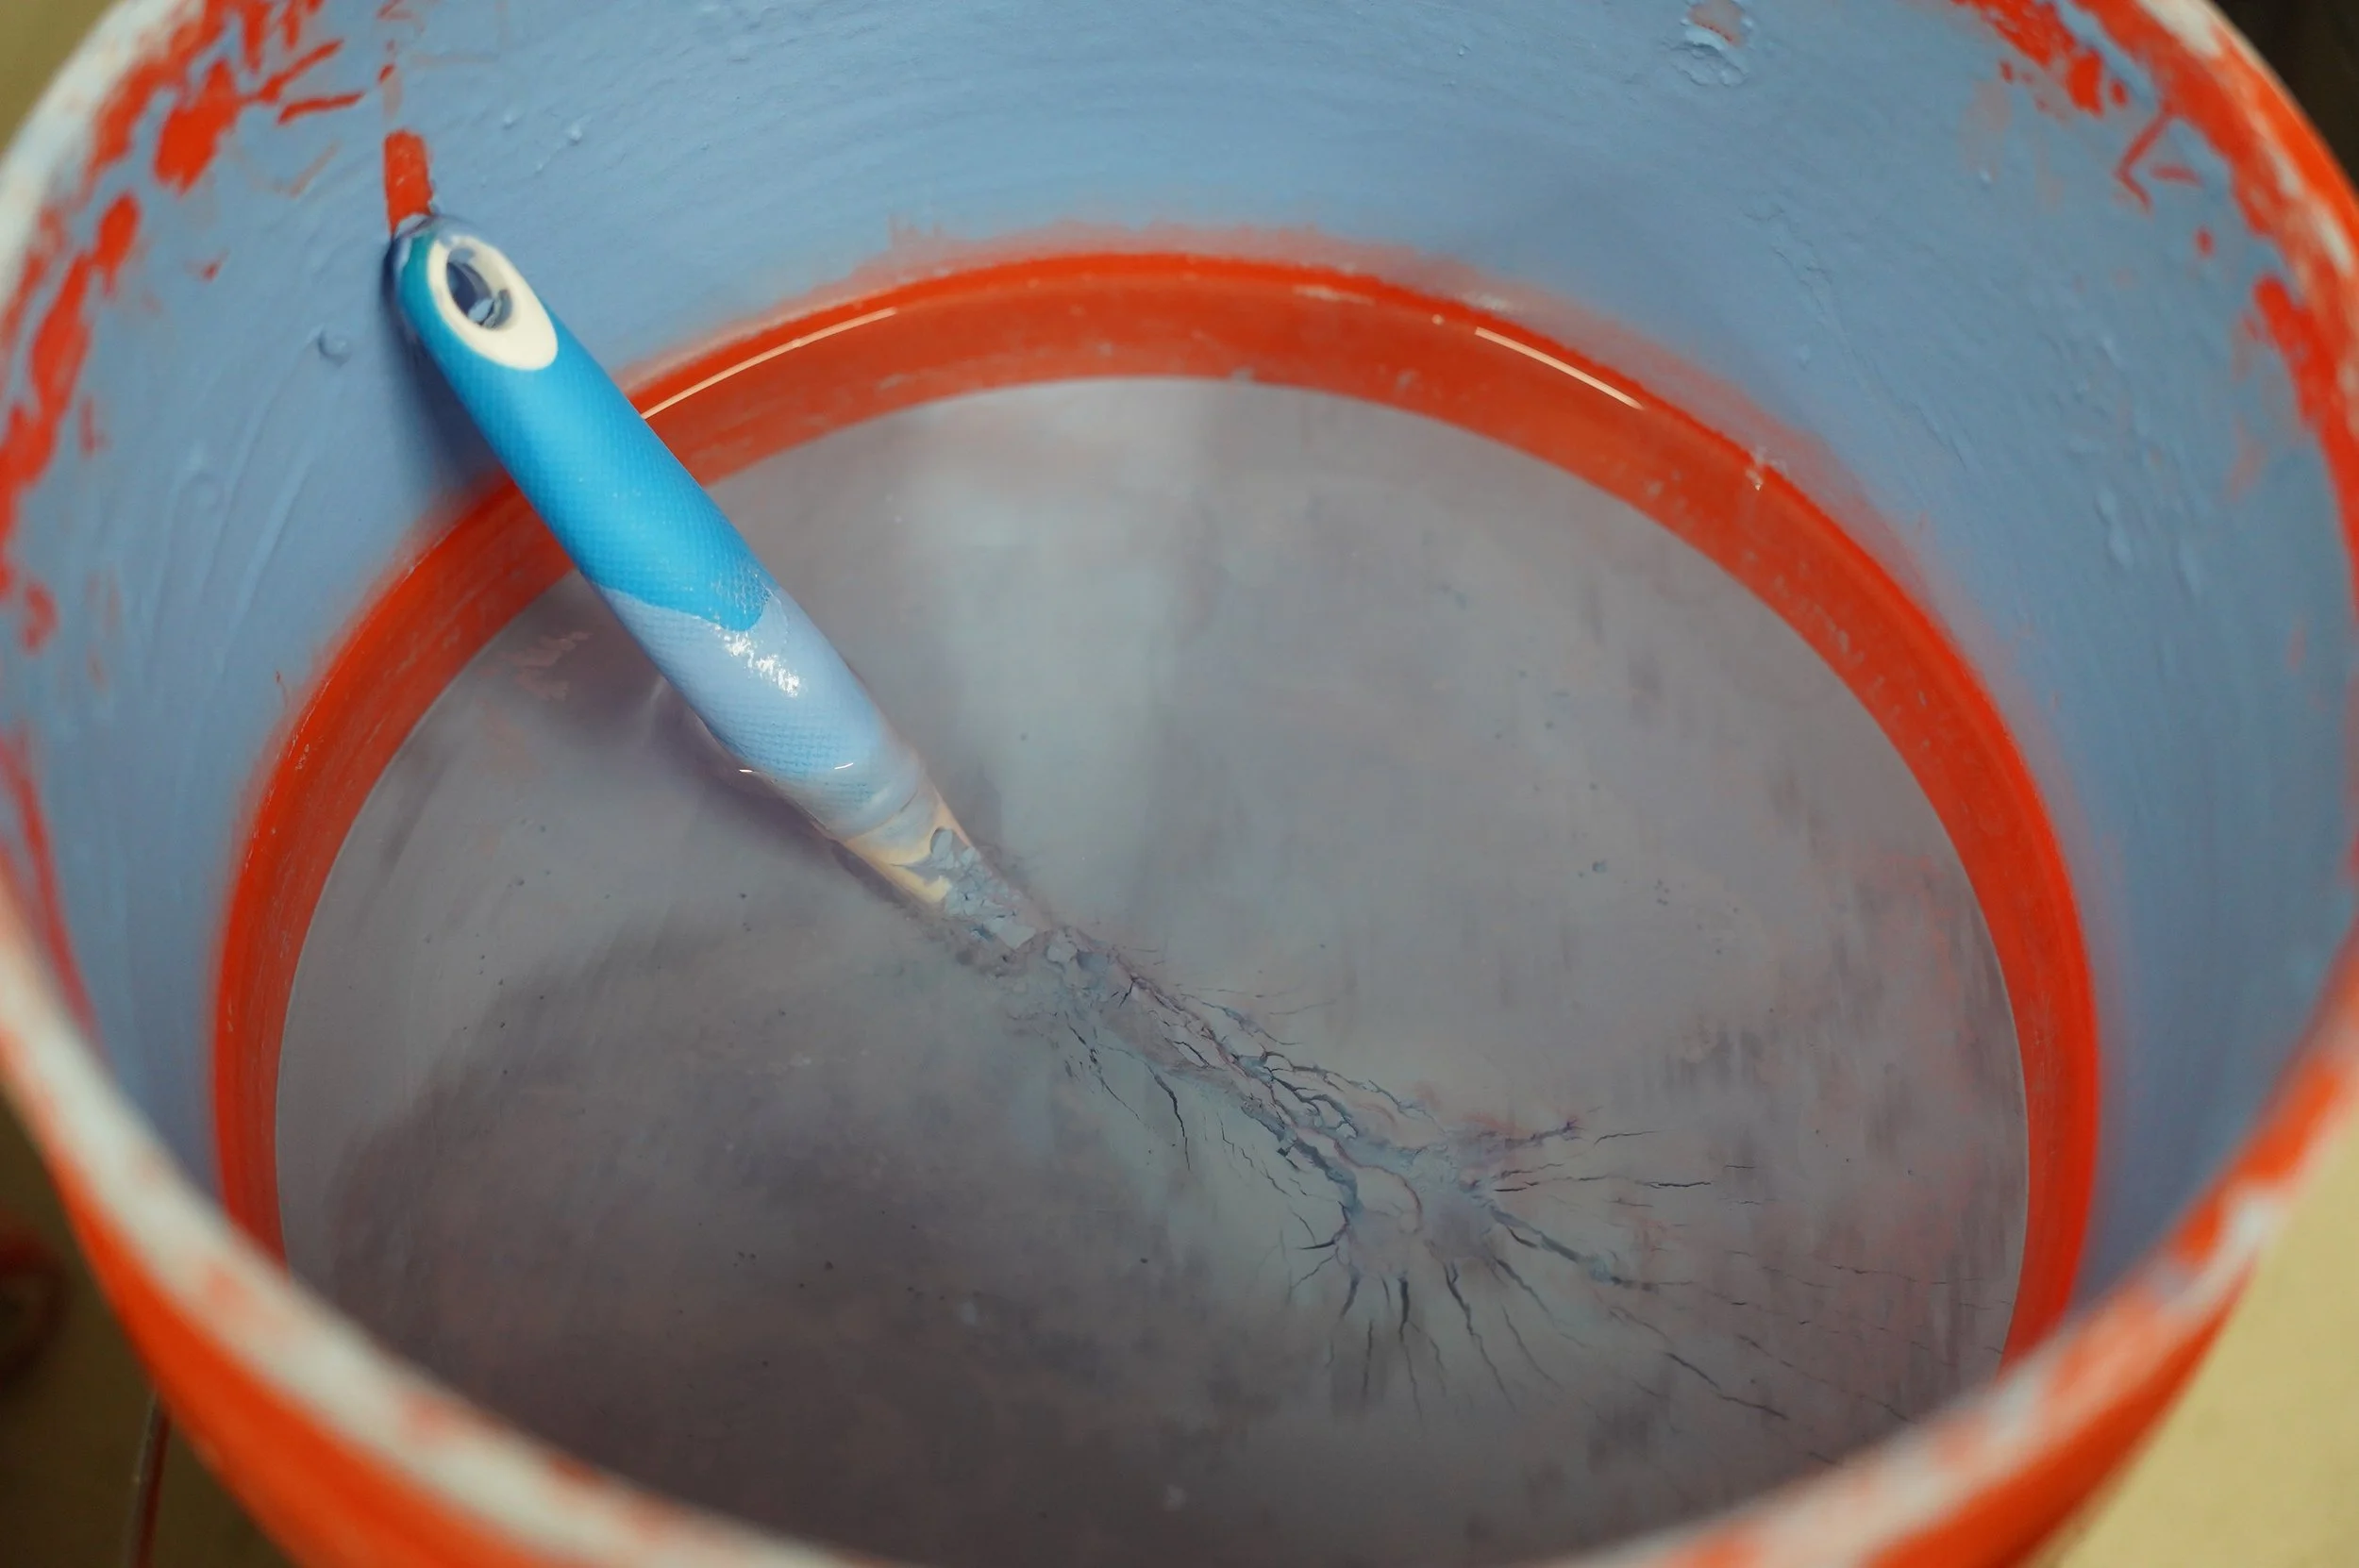
Unmixed glaze, note the separate consistencies and the clear layer at the top. Be sure to mix it well for a nice smooth & even coating.
8. Clean Up After Yourself
Your glazing session is not complete until your workstation and surrounding floor areas are spotless. Chances are you are sharing a community studio space and you should leave the area nice for the next person to work there. Messes can get out of hand quickly when working with clay and glazes a good rule of thumb is to try to always leave a space cleaner than you found it.
Post-Glazing Cleanup Protocol:
Buckets & Lids: Thoroughly sponge-wipe all glaze buckets, including lids, rims, handles, and rolling platforms (do this even if they look clean).
Floors: Mop the floor around every bucket you used, even if no spills are visible.
Tools: Rinse and sponge-wipe all glazing tools using the designated bucket system. Avoid running tap water.
Workstation: Wipe down counter surfaces to remove all glaze splashes, drips, and clay dust.
Storage: Return all sponges, tongs, and supplies to their proper locations.
Sealing Buckets: Ensure all bucket lids are securely snapped back in place.
Cleanliness is non-negotiable. Atacama is a shared creative space, and every member and student is responsible for leaving the studio ready for the next person.
9. Don't Forget to Initial Your Work!
At Atacama Clay Studio we ask that every piece be clearly marked with the maker's registered initials on the raw clay bottom before being placed in the glazing queue. This is a good practice in any studio, even if they don’t require it. It will help other’s realize that your piece is not theirs (even if they look alike) and will help you remember which pieces were yours. That may sound silly but color, texture, and even size will change in the kiln and you would be surprised how easy it is to forget exactly what a piece looked like before firing.
10. A Note About Food-Safe Glazes
Atacama Clay Studio exclusively provides food-safe glazes. However, choosing a food-safe glaze is only one part of creating functional, safe pottery. Should you purchase glazes yourself, use other’s personal glazes, or use another studio’s glazes, be sure to ask about each glaze, before you assume that it is food-safe.
Proper application thickness, correct firing temperatures, and a smooth, pinhole-free glazed surface are equally important for food safety. Follow studio guidance on glaze combinations, and always consult an instructor if you are unsure whether a specific vessel or surface finish is suitable for food or drink usage.
Our Golden Rule
Be Organized. Be Mindful. Be Respectful.
Glazing is an opportunity to experiment, explore color, and bring your pottery to life. It should also be a practice in patience, precision, and community care.
At Atacama Clay Studio, we share our materials, tools, and creative space. Keeping our glaze buckets clean, preventing contamination, and maintaining a clean studio ensures that everyone enjoys top-quality glazes and a welcoming environment.
Happy glazing, potters!
